Turn any photo into a printable color-by-number painting
Free, and it runs in your browser — the photo never leaves your device. Drop an image, adjust the palette if you like, and download a print-ready color-by-number or paint-by-number sheet.
Drop your photo here
or browse your files
PNG · JPG · WEBP · GIF
What you get
Real output from this tool, not a mock-up
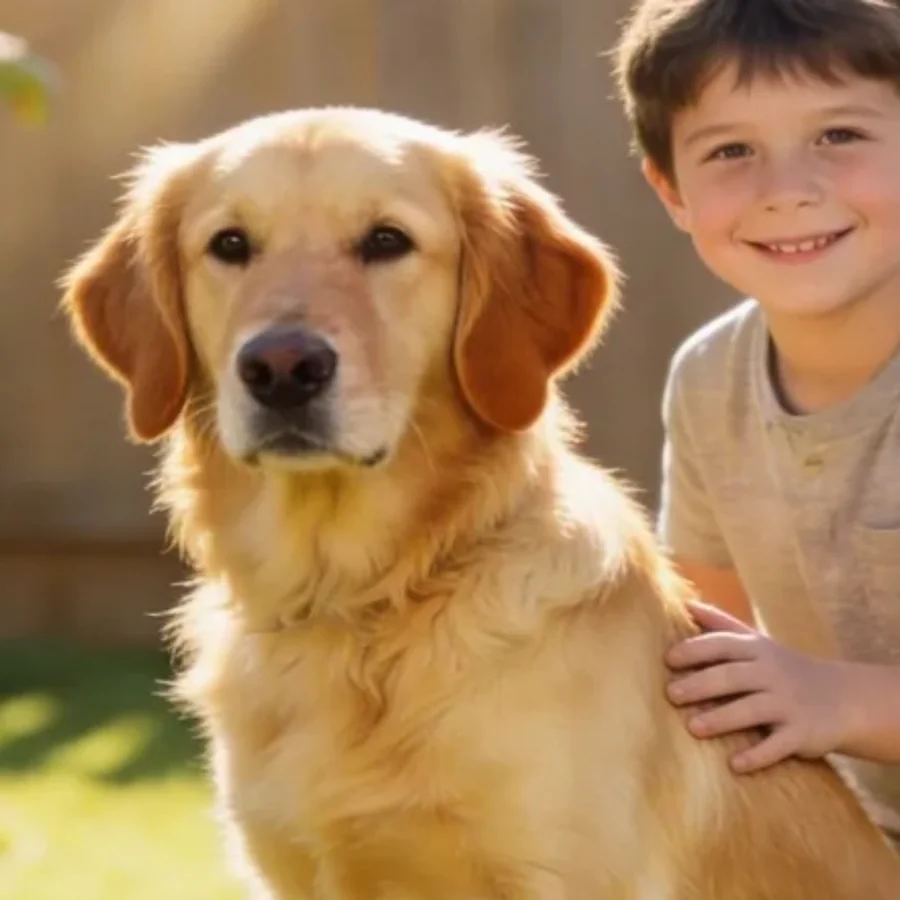
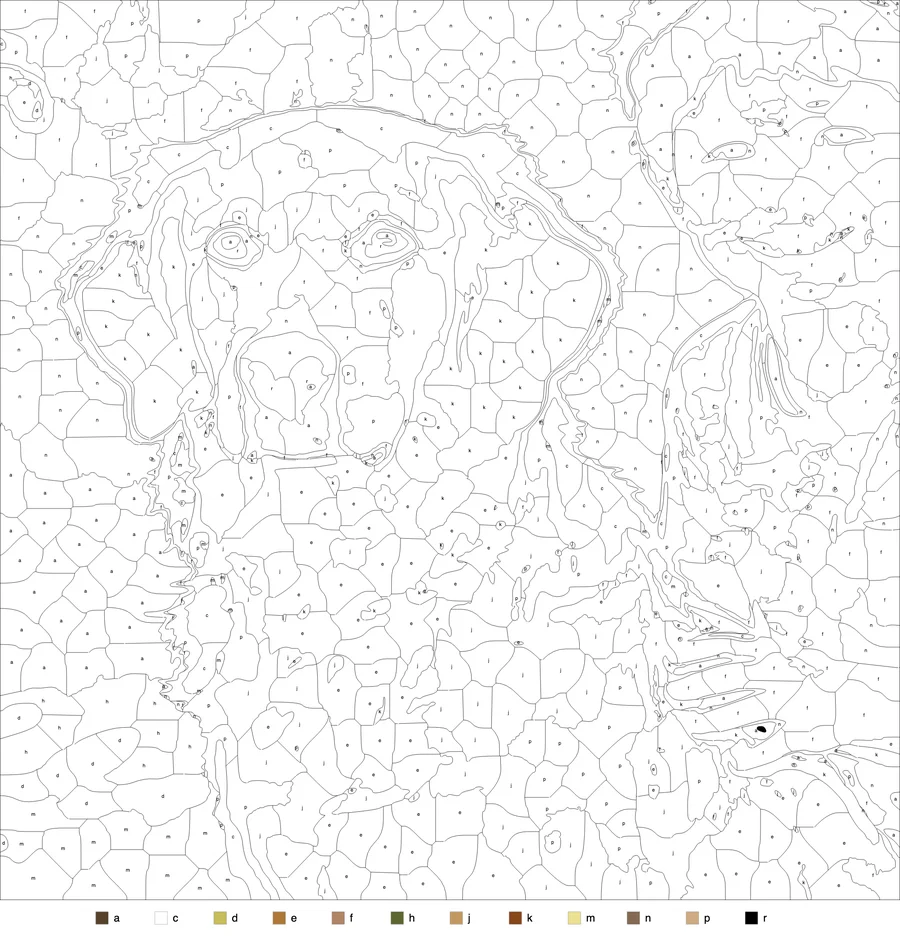
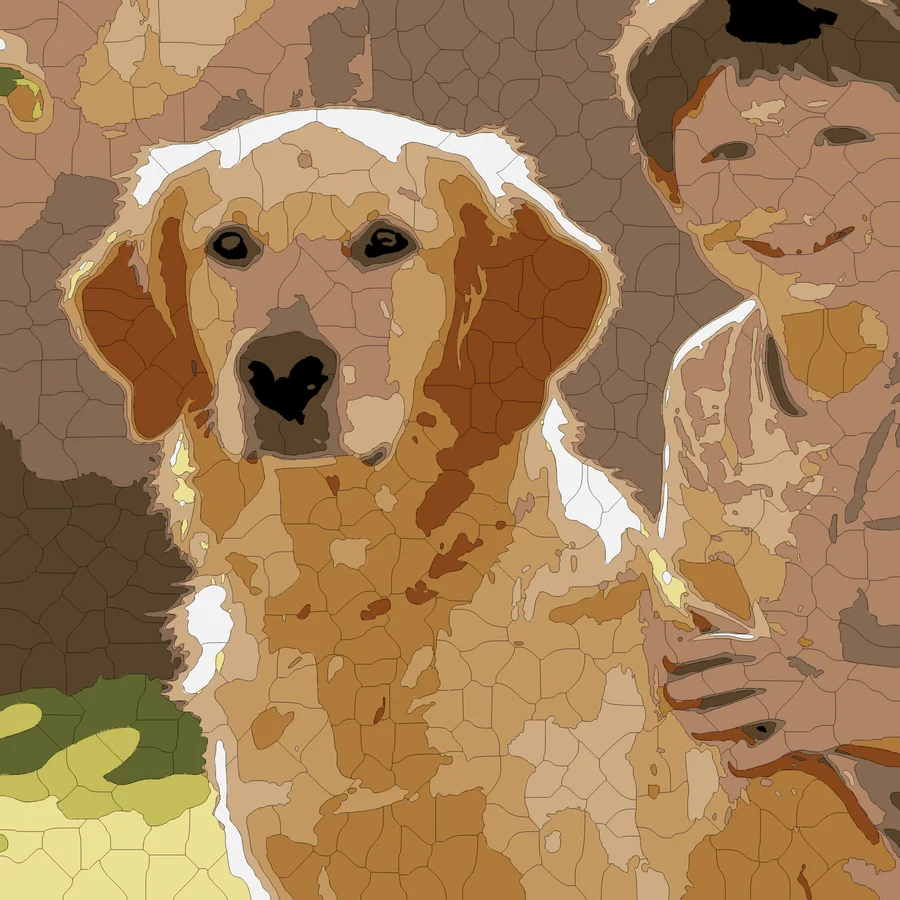
A painting you can actually paint
A photograph has millions of colours and no edges you could follow with a brush. This tool reduces it to a small palette, groups the pixels into regions large enough to fill in by hand, traces a smooth border around each one, and drops a label in the middle. What comes out is the kind of sheet you would find in a craft-store paint-by-number kit — except it is made from your own photo, and it takes a few seconds.
Everything happens inside your browser. There is no upload step, no queue, and no account. Drop a photo above and you will have four versions of it before you have finished reading this paragraph.
Four sheets from one upload
Every conversion produces four views at once. You only print one of them, but the other three are what make the painting straightforward to follow.
Outline
the one you printA clean white sheet with thin black borders and a letter or number inside every region, plus a colour key along the bottom. This is the sheet you print and paint.
Color by Number
your guideThe same regions, lightly tinted with the colour each one should end up. Keep it on screen while you paint so you can see where you are heading without guessing.
Colored
the targetA full-colour render with no numbers — what the finished painting should look like once every region is filled in.
Original
for referenceYour photo, side by side with the rest. Hovering a colour in the palette dims everything else, so you can see exactly which parts of the photo a colour covers.
Which photos work best
The conversion is only as good as what it starts from. The tool has to decide where one colour ends and the next begins, so photos that make that decision easy give noticeably cleaner sheets.
Works well
- A single clear subject — a pet, a face, a flower, a building
- Good light, with real shadows rather than a flat grey cast
- A background that differs in colour from the subject
- At least 800 × 800 pixels; more detail gives finer regions
Fights back
- Busy scenes — a crowd, a forest, a cluttered room
- Very dark or backlit shots where the subject is a silhouette
- Heavy digital zoom or a screenshot of an already-compressed image
- Fine repeating texture like grass, fur, or lace at a distance
If a photo comes out muddy, the Sharpness slider often rescues it — it strengthens edges before the colours are grouped, which gives the region detector something firmer to work with. Raising Blur / noise helps in the opposite case, where grain is breaking a smooth area into speckles.
Three settings to start from
The defaults suit most photos, but the sheet you want depends on who is painting it. These are reasonable starting points — adjust, press Re-process, and compare.
A worksheet for young children
8–12 colours · cell size 40 · label size 4
Few colours and large cells give big, forgiving shapes and numbers a child can actually read. Simple subjects with clear outlines work best.
A detailed painting for adults
24–32 colours · cell size 12–20 · smoothing 3
More colours preserve shading and skin tones; smaller cells break large areas into manageable pieces. Expect a few hundred regions and several hours of painting.
A bold graphic poster
6–10 colours · cell size 0 · smoothing 6
Turning cells off keeps the natural colour boundaries, and heavy smoothing rounds them into flowing shapes. Produces a screen-print look rather than a photo.
Getting it onto paper
Download the SVG if you plan to print. It is a vector file, so the borders stay crisp whether the sheet comes out at postcard size or fills a poster — and thin region borders are exactly the kind of detail that goes soft when a raster image is scaled up. Open it in any browser or PDF viewer and print with “fit to page” enabled.
The PNG is the better choice for sharing on a screen or sending to someone who would rather not deal with a vector file. Heavier paper — 120 gsm or above — is worth it if you are painting rather than colouring, since watercolour and acrylic will buckle standard copier paper.
Quick answers
Is it really free?
Yes — every feature, including the high-resolution PNG and SVG downloads. The site is supported by ads, not by charging for exports or watermarking them.
Do I need to sign up or install anything?
No account, no download, no plugin. It runs in the browser tab you already have open, on desktop or phone.
Where do my photos go?
Nowhere. The conversion runs in JavaScript on your own device, so the image is never uploaded and there is no copy of it to delete.
Can I sell what I make?
Yes, provided you hold the rights to the photo you started from. Pages generated from your own photography or from properly licensed images are yours to sell.
More detail on settings, formats, and printing is on the FAQ page, and about the tool covers how the conversion works. Making a sheet to paint with a brush rather than colour in? The settings are different — turn a photo into a paint-by-number walks through them.
Guides
How to turn your photos into printable pages
A step-by-step walkthrough, from picking the photo to the finished print.
10 ways teachers can use these worksheets
Classroom activities for number recognition, fine motor practice, and quiet work.
Colouring for stress relief and mindfulness
Why structured colouring works as a wind-down practice, and how to set one up.
Creating and selling printables online
Choosing a niche, preparing files, and listing packs on Etsy or Teachers Pay Teachers.