Adult colouring books had their moment a decade ago, and the people who kept doing it afterwards mostly settled on one kind of page: the structured kind. Not a blank line drawing where every choice is yours, but a page that tells you where the next stroke goes. A color-by-number sheet is the purest version of that — and making one from your own photograph changes what the activity feels like.
This guide covers what is actually known about why colouring calms people, why the numbered format matters, and the settings that produce a page worth an evening.
What the research does and does not say
The evidence is thinner than the marketing suggests, but it is not nothing. The best-known experiment, published in the journal Art Therapy in 2005, had students colour either a mandala, a plaid pattern, or a blank page after a brief anxiety-inducing task. The two structured groups reported lower anxiety afterwards; the free-drawing group did not. Later studies have broadly repeated that pattern: colouring a structured design for twenty minutes or so produces a modest, short-term drop in self-reported anxiety.
What the research does not support is any claim about long-term effects, or that colouring is equivalent to meditation or therapy. It is a reliable way to feel calmer for the next hour. That is a perfectly good reason to do it, and it does not need inflating.
The interesting part is the structured finding. A blank page asks you to decide; a numbered page only asks you to execute. That is why the format works when you are already tired of deciding things.
Why a photo you took is different
A mandala is nobody's. A page made from the view out of your kitchen window, your dog asleep in a patch of sun, or a holiday photograph you keep going back to, is yours before you start — and watching a place you know reassemble itself out of flat colours, one region at a time, is a different experience from filling in a stranger's pattern.
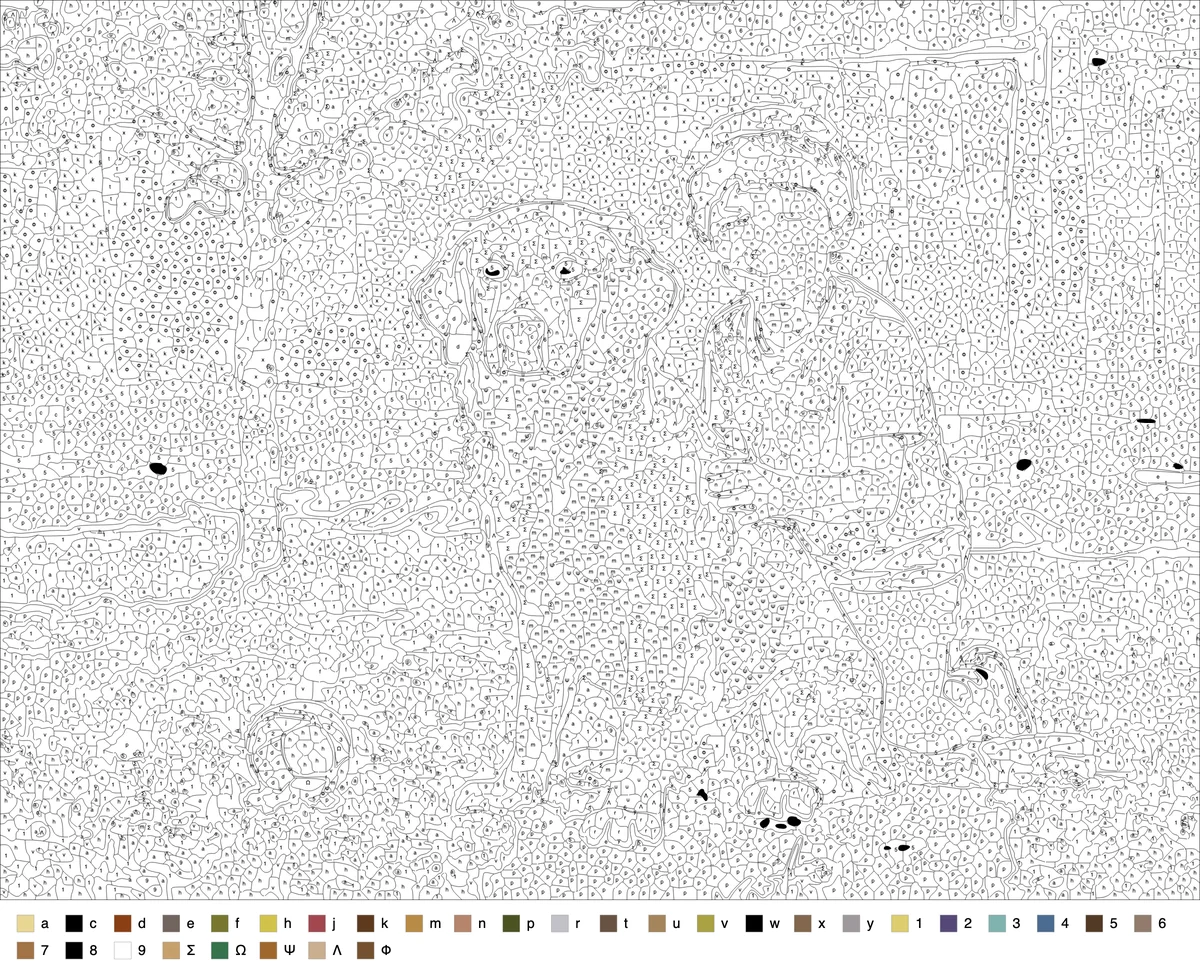
That sheet is the generator's actual output from a dog photo at 32 colours. It has a few hundred regions and would take most people two or three sittings, which is roughly what you want from a page intended to be lived with rather than finished.
Choosing the photo
The subject should be something you would be happy to look at for hours, and it should convert cleanly. Those are separate questions.
- Landscapes with structure — a hill line, a beach with bands of sand and sea, a lake — convert well and are restful to paint. Woodland and long grass do not; they become confetti.
- A sleeping pet is close to ideal: a single subject, soft shading, no fast edges. Short coats convert better than fluffy ones.
- A quiet interior — a chair by a window, a table with a cup on it — is underrated. Flat walls and soft daylight make big, calm regions.
- Portraits are demanding and emotionally loaded. Save those for when you know the settings.
The subject-by-subject version is in which photos make the best pages.
Settings for an absorbing page
The aim is regions large enough to fill without concentration and numerous enough to last. Start from:
- Colors: 24–32. Fewer flattens the shading you are painting for; more adds work without adding calm.
- Cell size: 16–24. Large flat areas get broken into cells you can finish in a minute or two each. Very small cells become fiddly; very large ones become tedious.
- Smoothing: 3–5. Rounder edges are pleasanter to follow with a brush.
- Label size: 3. The default. If your eyes prefer larger, raise it; the regions do not change.
Generate, look at the Colored view, and ask whether you want to spend an evening with it. If not, change the photo, not the sliders.
Setting up a sitting
The people who keep this up treat it as a small ritual rather than a chore.
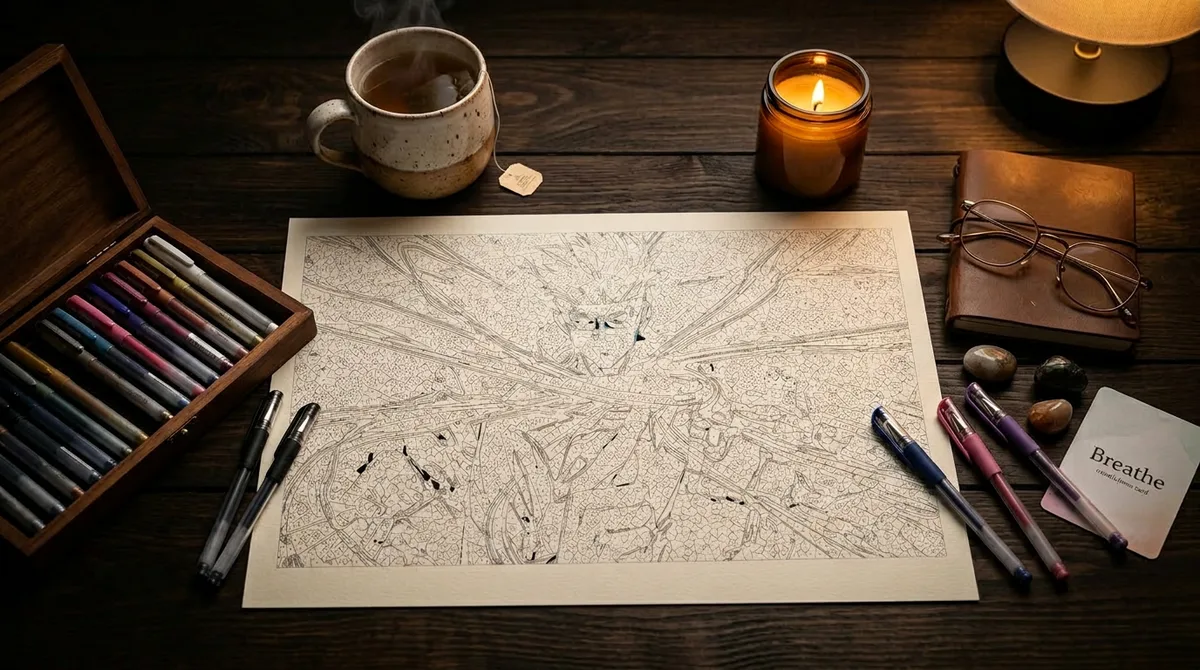
- Print on paper that suits your medium. Copier paper is fine for pencils; anything wet wants 150 gsm or more. Choosing paints and pencils covers what each does to the page.
- Print it larger than you think. A4 is the minimum; if you have access to A3, the regions become much more comfortable and the same file works, because the SVG scales without losing sharpness.
- Work by colour, not by area. Pick one colour from the key, fill every region carrying that label, then the next. It is quicker, it needs no decisions, and the picture emerges gradually rather than corner by corner.
- Stop when you stop enjoying it. The page will still be there.
Keep the digital copy
Save the PNG alongside the print. If you want another go at the same picture in six months — or a simpler version for someone else — you have the source, and generating a new sheet takes seconds. The tool keeps nothing: the photo stays on your device, and there is no account to lose.