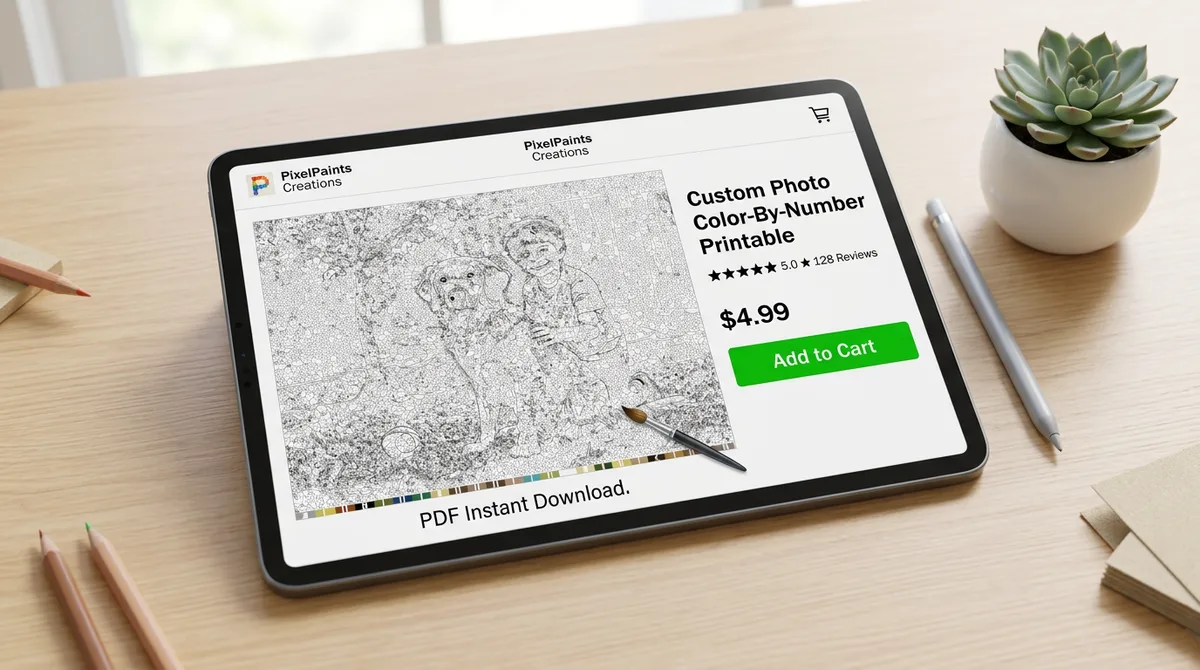
People do sell color-by-number packs on Etsy, Teachers Pay Teachers and similar marketplaces, and a photo-to-sheet generator makes producing them fast. What it does not do is make the product good, or make it legal. Both of those are decided before you press Re-process. This guide is about the decisions.
Start with rights, not niches
Every guide on this topic opens with niche selection. Start here instead, because getting it wrong ends the shop.
You need the right to make and sell derivative works from the photo. Converting a photo into a colour-by-number sheet is a derivative work. That rules out:
- Anything found through an image search.
- Screenshots from films, games or television.
- Most "free stock" sites. Unsplash and Pexels allow commercial use but their licences restrict redistributing the image as a competing product, and a converted page sits uncomfortably close to that line. Read the licence for each image; do not rely on a summary, including this one.
What is safe:
- Photographs you took. This is the answer for almost everyone. A phone and an afternoon produces more source material than you can convert.
- Genuinely public-domain images — for example works on Wikimedia Commons marked CC0 or public domain, or a museum's open-access collection. Check the individual file's licence, not the site's general policy.
- Illustrations you drew or commissioned with a written licence covering resale.
A pack of ten dog breeds made from your own dog and your friends' dogs is a product. The same pack made from search results is a takedown notice.
Then choose a niche narrow enough to search for
Nobody searches for "colouring pages". They search for "dinosaur color by number for kindergarten" or "vintage car paint by number adult". The niche is the search phrase.
The generator's strength is that it works from photos, which most sellers are not using. That points at niches other packs cannot serve: real landmarks of a specific city, real breeds, real vintage machinery, real flowers by name. Photograph the actual thing and the pack is distinctive by construction.
Convert the batch with one set of settings
A pack should look like a pack. Decide the audience, fix the settings, and run every photo through the same recipe.
- Children's pack: 8–10 colours, cell size 40, label size 4.
- General adult pack: 20–24 colours, cell size 16–20.
- Detailed adult pack: 28–32 colours, cell size 12.
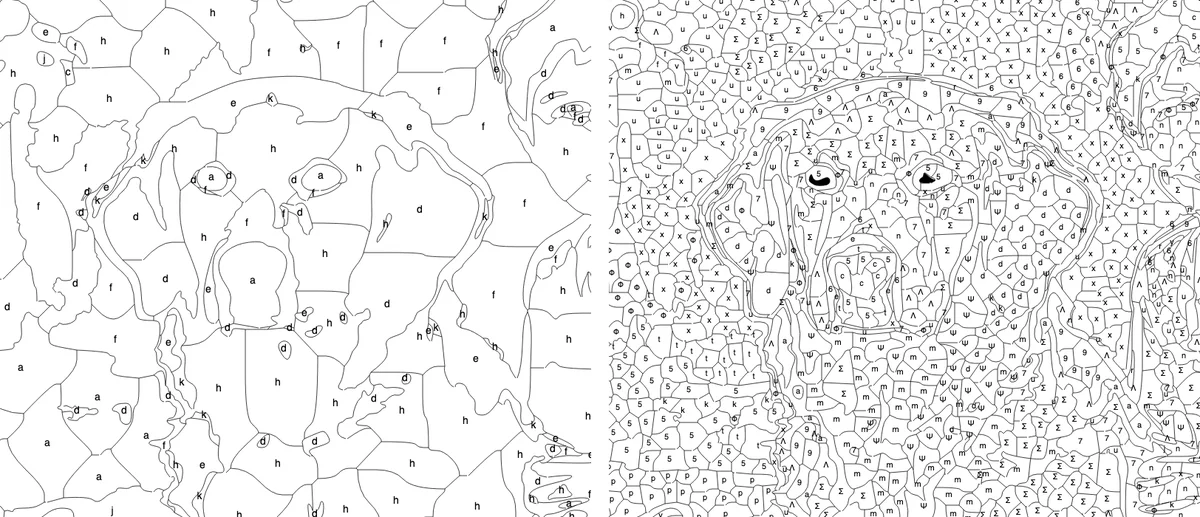
Both of those are the same photo. Mixing the two levels in one pack makes it feel assembled rather than designed. Every setting explained covers what the remaining sliders do if a particular image needs rescuing.
Prepare the source photos consistently too: similar crop, similar light, subject filling the frame. The conversion amplifies differences between photos, so a pack shot in five different lighting conditions will produce five different-looking sheets.
Print-test before you list
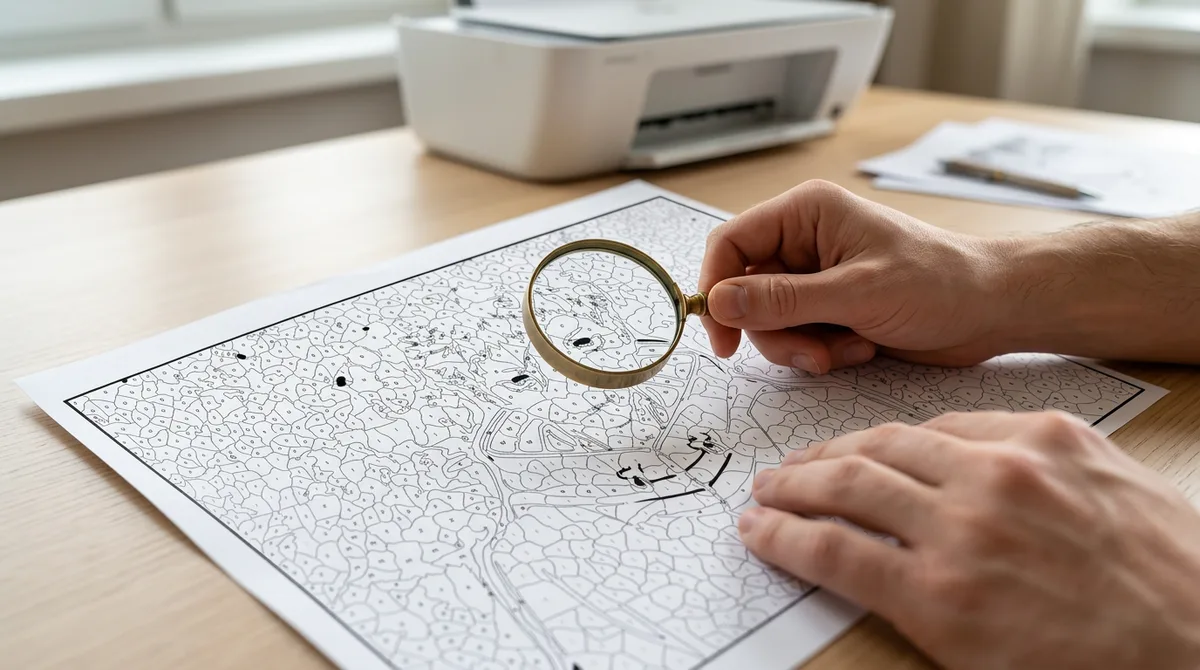
This is the step that separates packs with good reviews from packs with refund requests. Print two pages from the set at the size the buyer will use — A4 or US Letter — and look at:
- The smallest label. If you need to squint, a buyer with a cheaper printer will not be able to read it. Raise the cell size or the colour count.
- Line weight. The default 0.75 px border prints as a fine, book-like line on a decent inkjet. On an old laser printer it can vanish. Border width is under More settings; 1 px is safer for a product.
- The colour key. It must be readable and match the labels exactly. It is generated from the same data as the sheet, so it will — but check anyway.
Download the SVG for the master file. It scales to any paper size without softening, and it opens in free tools (Inkscape, or any browser) for adding a title or a page number.
Assemble the product
Buyers expect a single PDF, not a folder of images. Any vector editor or office suite will place the SVGs on pages and export a PDF; keep the sheets one per page, at the paper size you tested.
Include:
- A cover page with the pack name and a fully coloured example — the generator's Colored view is exactly that, and it is a real preview of the result rather than a mock-up.
- A one-page note on printing: "fit to page", paper weight for paint versus pencil, and that the file is a digital download.
- The pages themselves, in an order that makes sense — easiest first.
Listing images that show the real product
The listing image is the product for most buyers. Show a page partly coloured, a page finished, and the colour key. A partly-coloured page made with real pencils photographs better than any digital mock-up and tells the buyer exactly what they are getting.
Pricing
Do not take a price from an article, including this one. Search your exact niche phrase on the platform you are listing on, sort by best-selling, and look at what ten to twenty-page packs are charging this month. Marketplaces move, and the number that matters is the one buyers are paying today.
Start with five pages
A five-page pack from photos you own, converted with one recipe, print-tested, assembled into a PDF with a real coloured preview on the cover. Once that has sold a copy, you know the workflow, and the next pack is an afternoon. Trying to launch with fifty pages usually means launching with nothing.