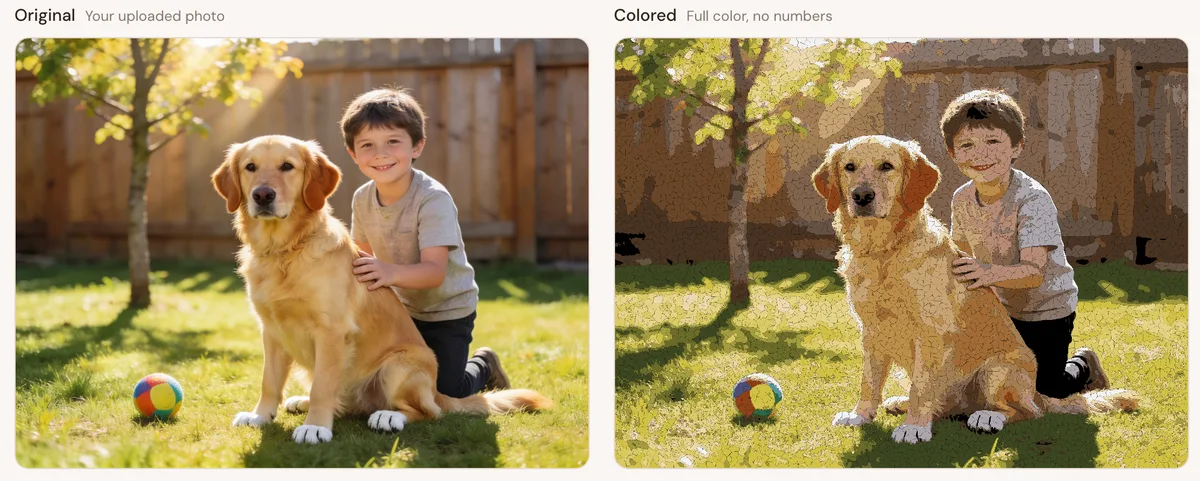
Color‑by‑number pages are a fun way to turn any photo into an activity sheet for kids, students, or adults who love to relax and color. In this guide, you'll learn exactly how to take a photo from your phone or computer and convert it into a clean, printable color‑by‑number page using our free tool at ColorByNumber.art.
Whether you're a parent preparing rainy‑day activities, a teacher creating classroom worksheets, or a hobbyist making custom gifts, you can follow the same simple steps below.
1. Choose the Right Photo
The most important part of a good color‑by‑number page is the starting image. Not every photo will convert well, so it's worth spending a minute choosing the right one.
What works best
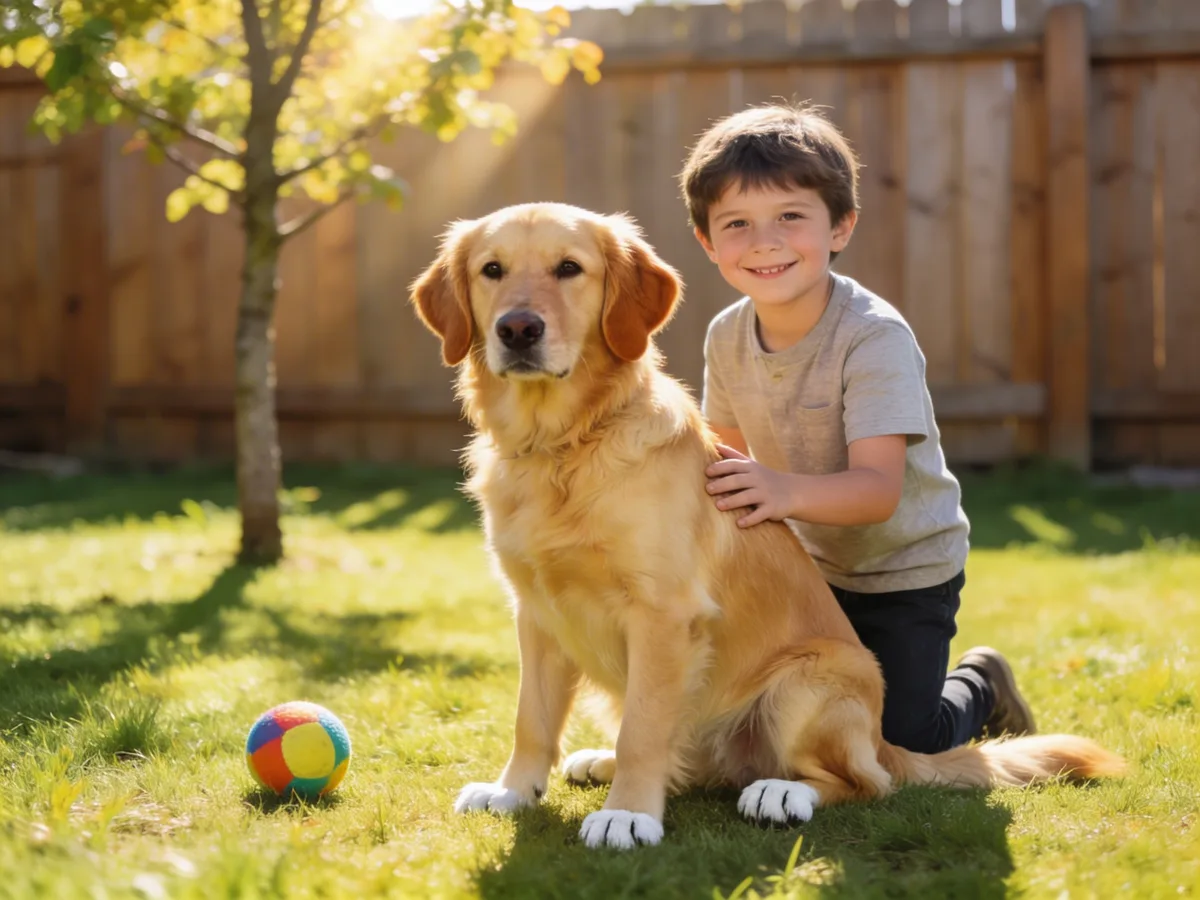
- Simple, clear subjects: Portraits, pets, single objects (like a flower or car), or simple landscapes usually work better than very busy scenes.
- Good lighting and contrast: Images with bright lighting and clear differences between light and dark areas give cleaner outlines.
- Not too many tiny details: Extremely detailed backgrounds can turn into lots of tiny shapes that are hard to color, especially for kids.
What to avoid
- Dark, blurry, or noisy photos
- Very cluttered backgrounds (crowds, messy rooms, lots of objects)
- Low‑resolution images (small, pixelated files)
If you're making pages for young children, simple pictures with big shapes (large animals, cartoonish faces, simple objects) will always beat complex scenery.
2. Prepare Your Photo (Optional but Recommended)
You don't have to edit your image before uploading, but a few quick adjustments can hugely improve the result.
Simple edits that help
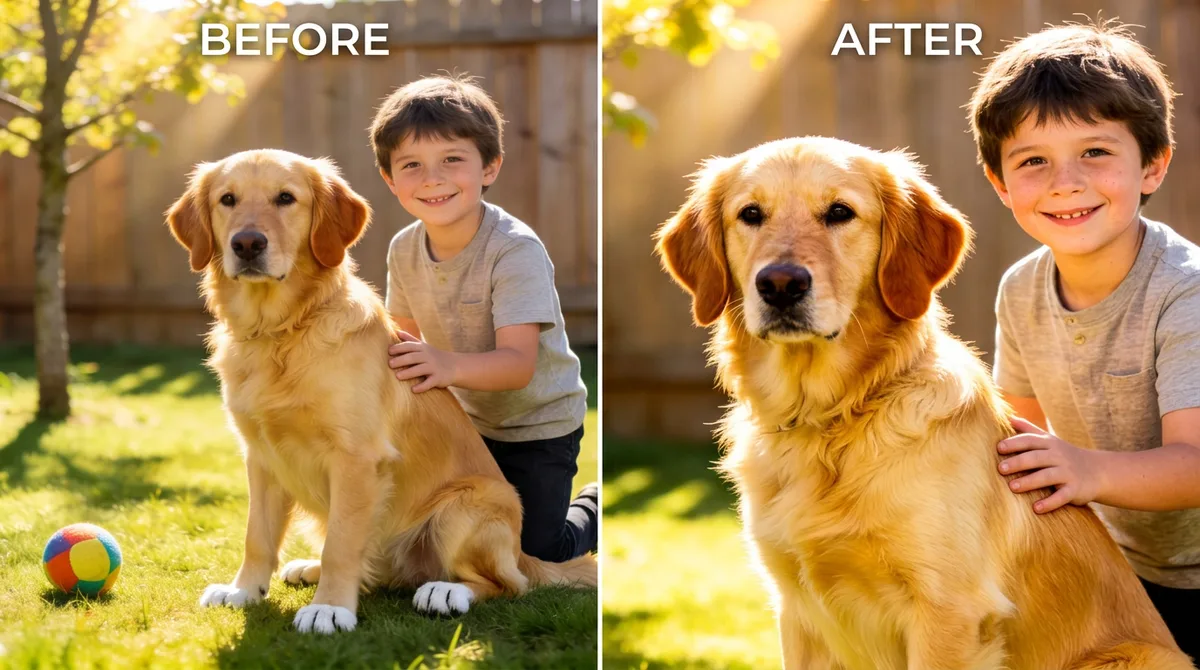
- Crop the image: Focus on the main subject and remove distractions around the edges.
- Increase brightness/contrast slightly: This makes edges and shapes easier for the tool to detect.
- Straighten and center: Make sure the subject isn't tilted and is roughly centered.
You can do these edits with any basic photo editor (your phone's default editor, built‑in tools on your computer, or free online editors).
Once you're happy with the photo, save it as a common format such as JPG or PNG.
3. Upload Your Image to ColorByNumber.art
Now that your image is ready, it's time to turn it into a color‑by‑number page.
- Go to ColorByNumber.art in your browser.
- Click the Upload or Choose File button.
- Select your photo from your device and confirm.

After a moment, your image will appear in the preview area, ready for conversion.
4. Choose the Number of Colors and Detail Level
Before generating the final outline, you can control how complex you want the page to be. This makes a big difference depending on who will use it.
Picking the right number of colors
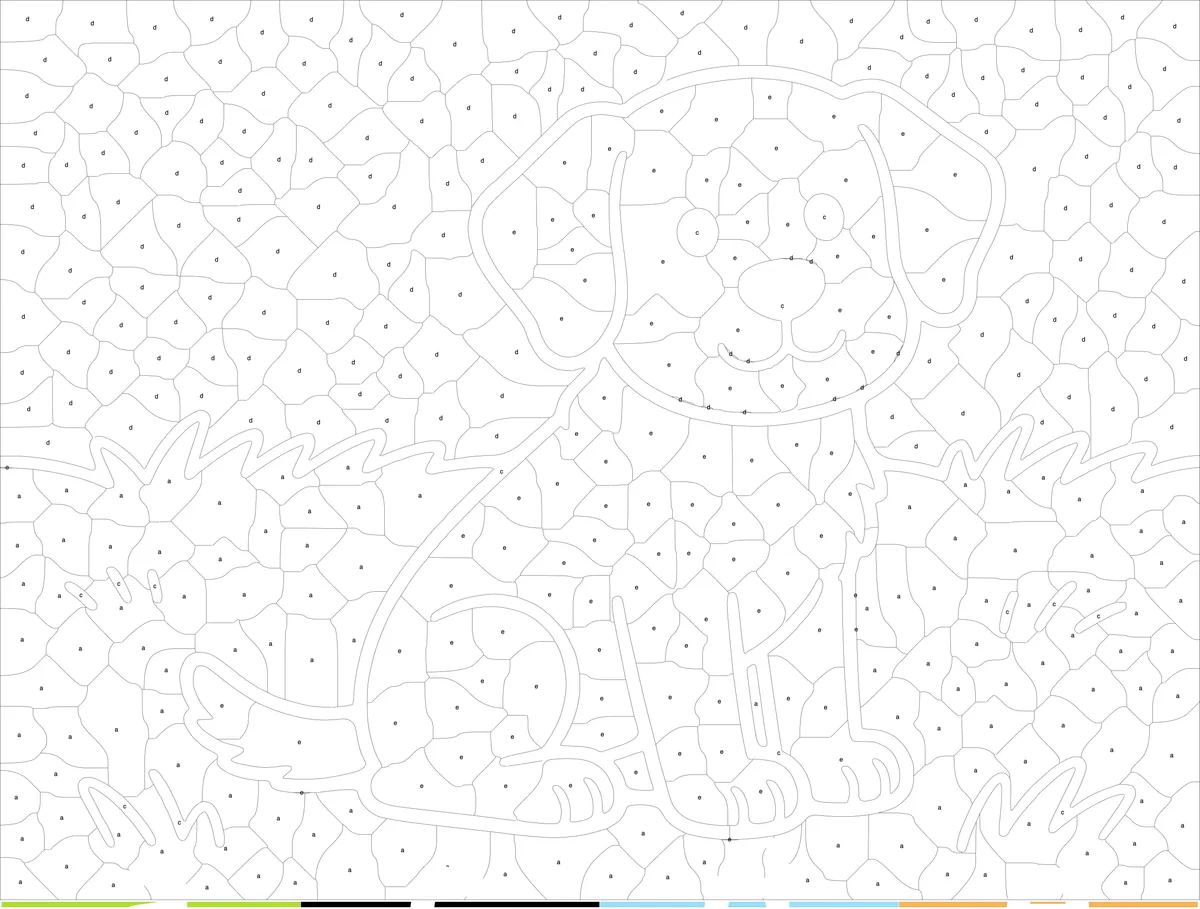
- For young kids (ages ~4–7): Choose a lower number of colors (for example 4–8). This keeps the page simple and less overwhelming.
- For older kids and teens: 8–16 colors are usually a good range—enough variety to look interesting, but not so many that it becomes confusing.
- For adults: You can go higher on colors and complexity for a more detailed and satisfying result.
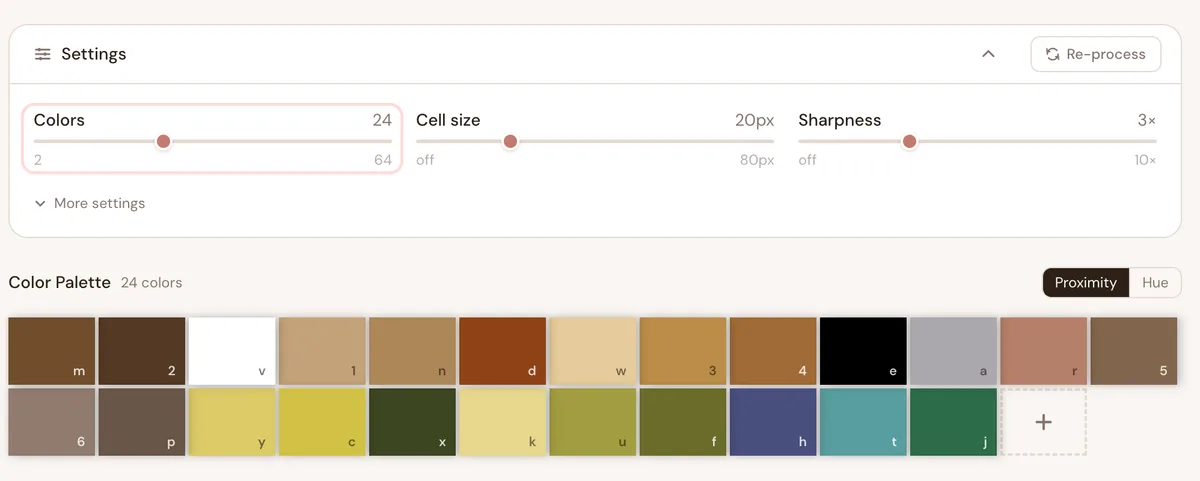
Adjusting the detail level
If your tool has a "detail" or "complexity" slider/setting, use it like this:
- Lower detail: Fewer, larger shapes — best for young kids.
- Medium detail: Balanced, good for most users.
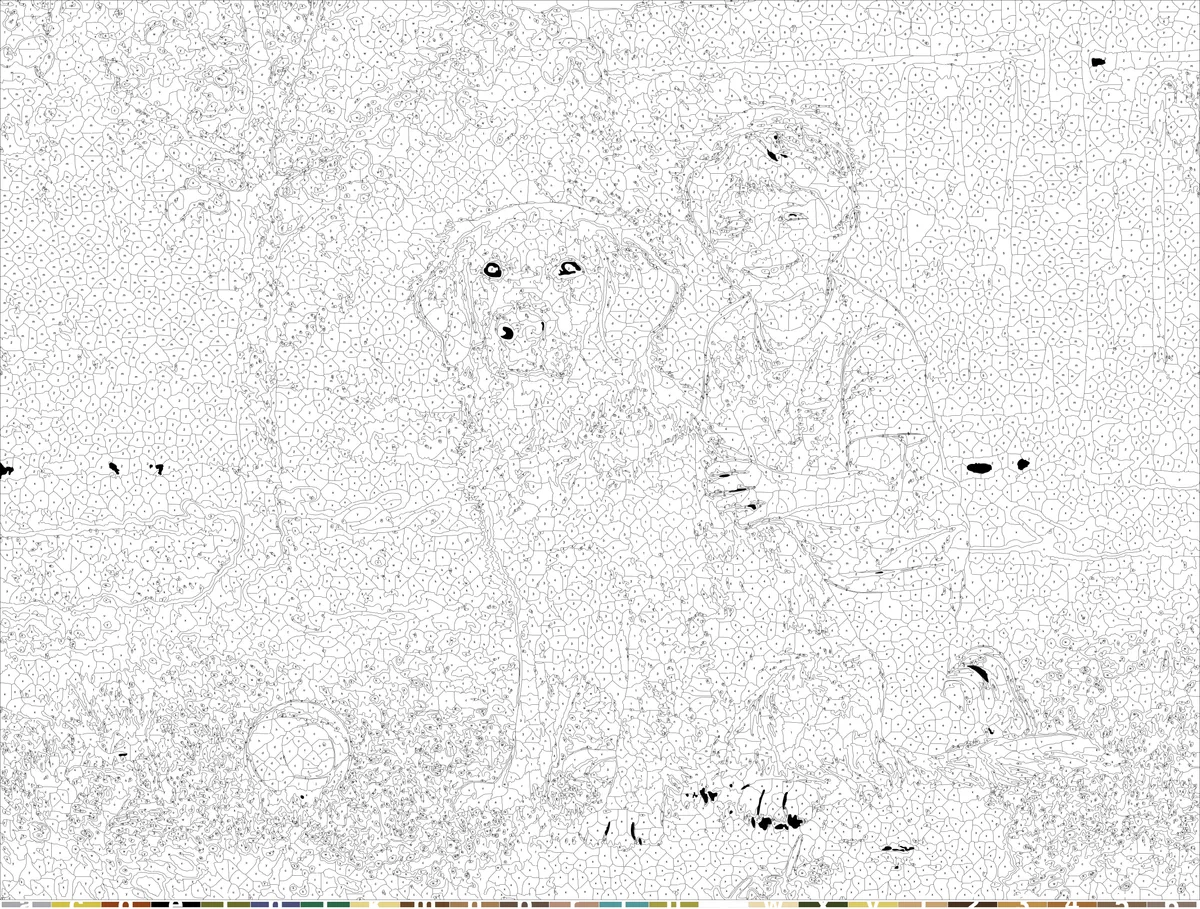
- High detail: Many small areas — better for adults and patient colorists.
You can always try one setting, preview, then go back and adjust if needed.
5. Generate the Color‑By‑Number Outline
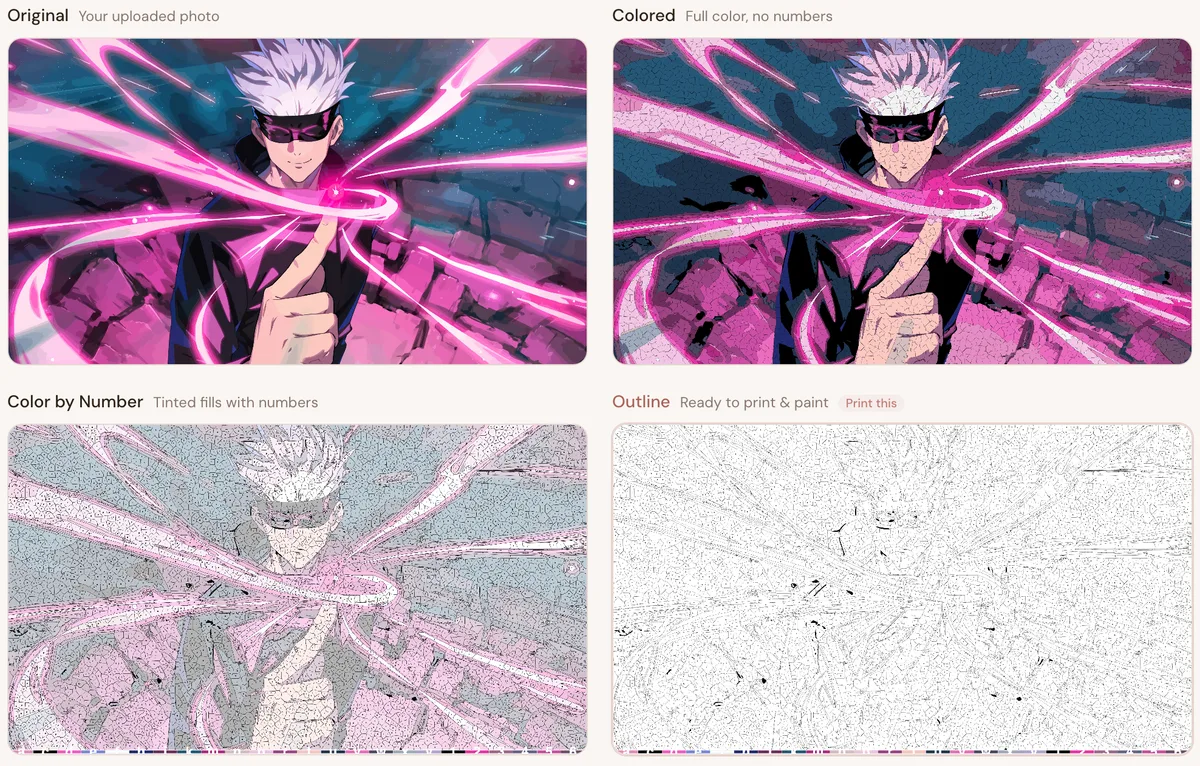
Once you've chosen your colors and detail level, the tool will generate a black‑and‑white outline with numbered areas in a few seconds.
Take a moment to inspect the preview:
- Are there too many tiny sections?
- Does the main subject look recognizable?
- Are the important details visible?
If it looks too busy, go back and reduce the number of colors or lower the detail. If it looks too simple or flat, increase them.
6. Fine‑Tune for Kids vs. Adults
The same photo can become a very different experience depending on who will use the page.
For kids
- Choose fewer colors and lower detail.
- Focus on big shapes like faces, animals, cars, or simple scenery.
- Check if small, isolated tiny areas appear; if they do, lower the detail or crop tighter.
For adults
- Use more colors and higher detail to create a more intricate image.
- Choose photos with richer textures (landscapes, city scenes, detailed objects).
- Consider making sets: 3–5 related images at similar difficulty.
If you're preparing pages for both groups, you can generate two versions from the same photo—one simple, one detailed.
7. Download and Print Your Page
When you're satisfied with your preview, it's time to download and print.
- Click the Download or Save PDF/PNG button.
- Choose your preferred format (PDF is great for printing, PNG/JPG is easy to share or reuse).
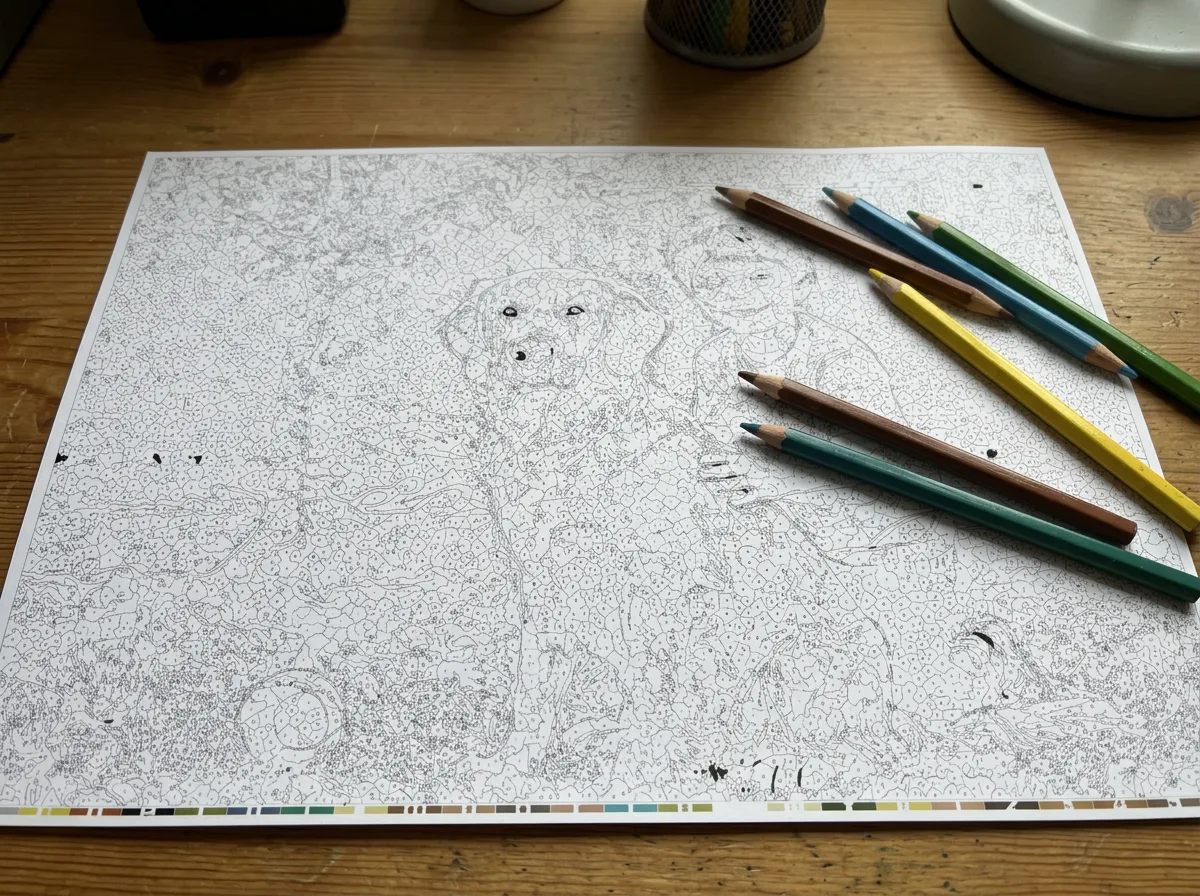
- Open the file and print it on standard A4 or Letter‑sized paper.
Printing tips
- Use slightly thicker paper if possible (so markers don't bleed through).
- If you're making multiple copies for a class or party, print one test page first to check line clarity and size.
- Make sure the numbers are readable after printing; if not, go back and simplify the design or increase the size.
8. Creative Ways to Use Your New Page
Now that you've created your first page, here are some ideas for using it:
- For families: Turn favorite family photos or pet pictures into coloring pages and keep them in a binder.
- For classrooms: Use photos related to your lessons (animals, landmarks, historical figures) and generate matching color‑by‑number worksheets.
- For gifts: Create a set of personalized pages featuring someone's hobbies, pets, or travel photos and bundle them as a small gift.
- For printables and digital products: Build themed sets (e.g., "cute animals," "cars," "holiday scenes") and sell them as downloadable packs.
9. Your First Project: Try This Now
To practice, pick one simple photo on your phone right now—maybe your pet, a child's favorite toy, or a clear portrait.
- Crop it to focus on the main subject.
- Upload it to ColorByNumber.art.
- Start with around 6–8 colors and a medium detail level.
- Generate, download, and print your first page.
After that, experiment with:
- The same photo but different numbers of colors
- The same settings but different types of images
- One "kids version" and one "adult version" of the same scene
You'll quickly get an intuitive feel for what settings work best for your style and your audience.