A color-by-number worksheet is one of the few classroom activities that is genuinely self-running: the instructions are the picture, the finish line is obvious, and thirty children can work on it at once without a question. The catch with the printed packs is that they are generic. A worksheet made from a photo of your class pet, your school gate, or the actual leaf you looked at in science is a different thing to hand out.
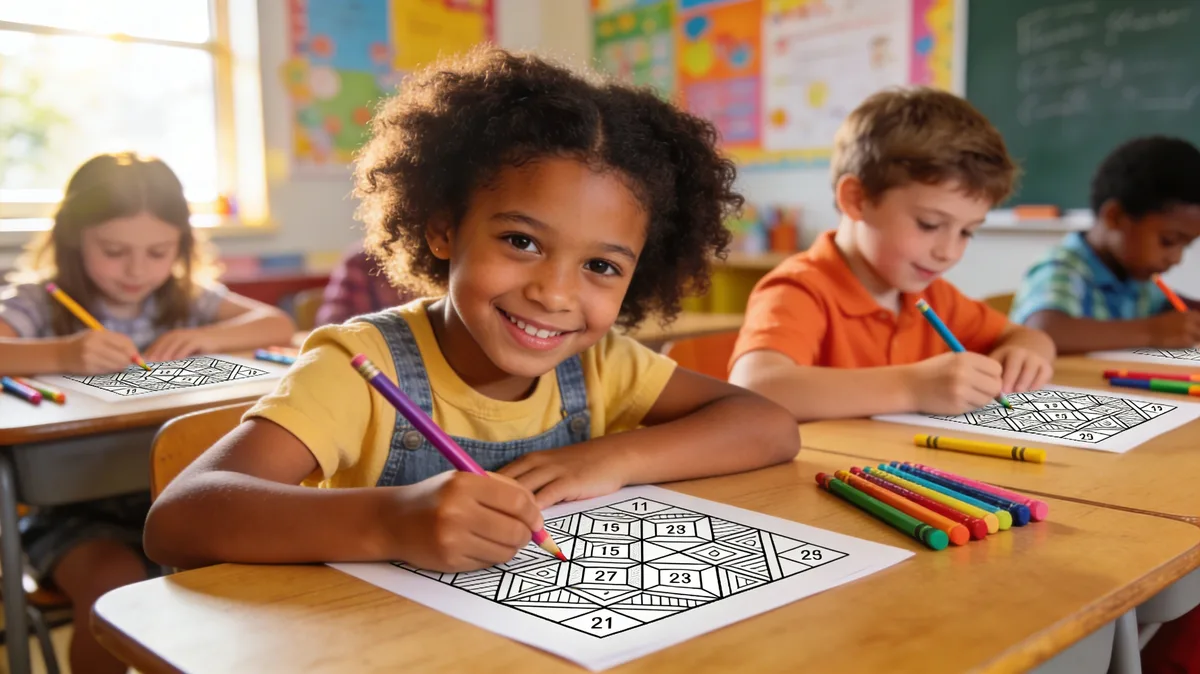
Here are ten ways to use custom pages, followed by the settings that keep them printable for small hands. Everything below assumes the free generator on this site, which runs in the browser and never uploads the photo — worth knowing if the photo has children in it.
1. Number and letter recognition
For preschool and reception, the page is the lesson. The generator can label regions with numbers, letters, or small icons (under More settings → Label order), so the same worksheet works for a class practising 1–8 and a class practising a–h.
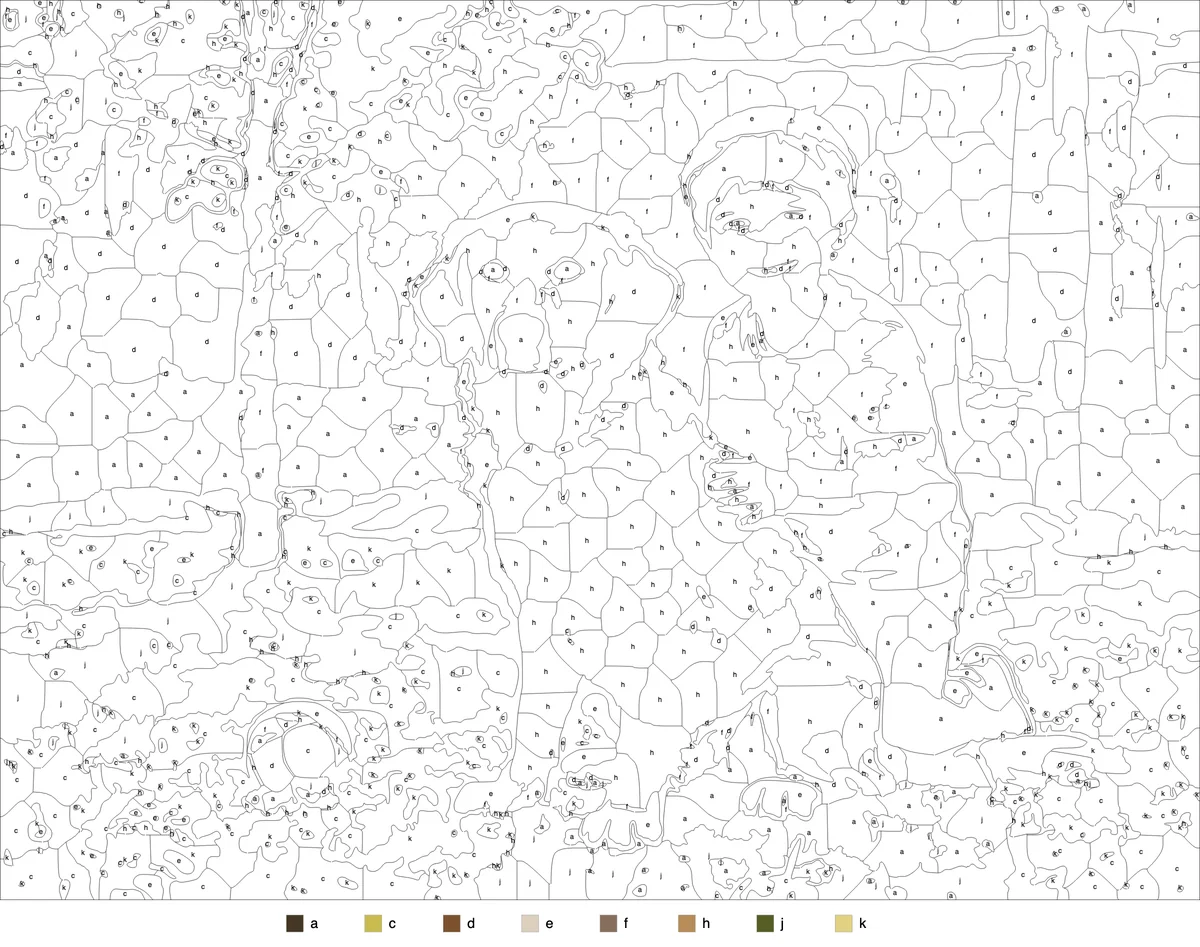
Keep it to six or eight colours. That is enough for the picture to read and few enough that a four-year-old can hold the key in their head.
2. Colour words
Print the sheet, cover the colour key with a strip of paper, and write the colour names next to each number instead. Now the child has to read "green" before they can pick up the green pencil. The generator does not do this substitution itself — it is thirty seconds with a marker — but it turns the page into a reading task without changing anything else.
3. Maths facts
Same trick, different key: replace "3" with "1 + 2", or "7" with "10 − 3". Each region becomes a problem to solve before it can be coloured. This works well for first and second grade because the reward is immediate and visual, and because children who finish early cannot tell they were doing sums.
If you would rather not hand-write keys, the SVG export opens in any free vector editor (Inkscape, for example) where the key text can be edited directly.
4. Shape and pattern talk
Before anyone picks up a pencil, ask the class what they can see in the outline. Where are the biggest regions? Which shapes repeat? Where do the lines curve and where are they straight? Because the picture is of something they recognise — a classmate's dog, the school building — the conversation starts from what they know.
5. Science and topic review
Photograph the actual object you studied. The leaf under the microscope, the bean plant on the windowsill, the model volcano. Converting that photo makes a review sheet that is specific to what the class did rather than a stock illustration of the topic.
Single objects against a plain background convert cleanly; a plant against a busy classroom wall does not. Put it on a sheet of paper before you photograph it.
6. Seasonal pages
Autumn leaves from the playground, the class pumpkin, a snowman the children built. Seasonal pages are the easiest custom worksheet to justify because the photo takes a minute and the children recognise the subject instantly.
For the youngest classes use eight colours and a large cell size (40). For upper primary, sixteen colours and a cell size around 24 gives a page that takes a full session.
7. Landmarks and local history
A photo of the town hall, the war memorial, the oldest building on the high street. Buildings convert unusually well — flat walls, hard edges, sky behind — and colouring one slowly is a way to make children actually look at something they walk past every day.
8. Early finishers and transitions
This is the practical one. A folder of ready-printed pages at three difficulty levels solves morning work, wet playtime, and the ten minutes between one activity ending and the next beginning. Because the format is the same every time, no explanation is needed after the first week.
9. Structured calm
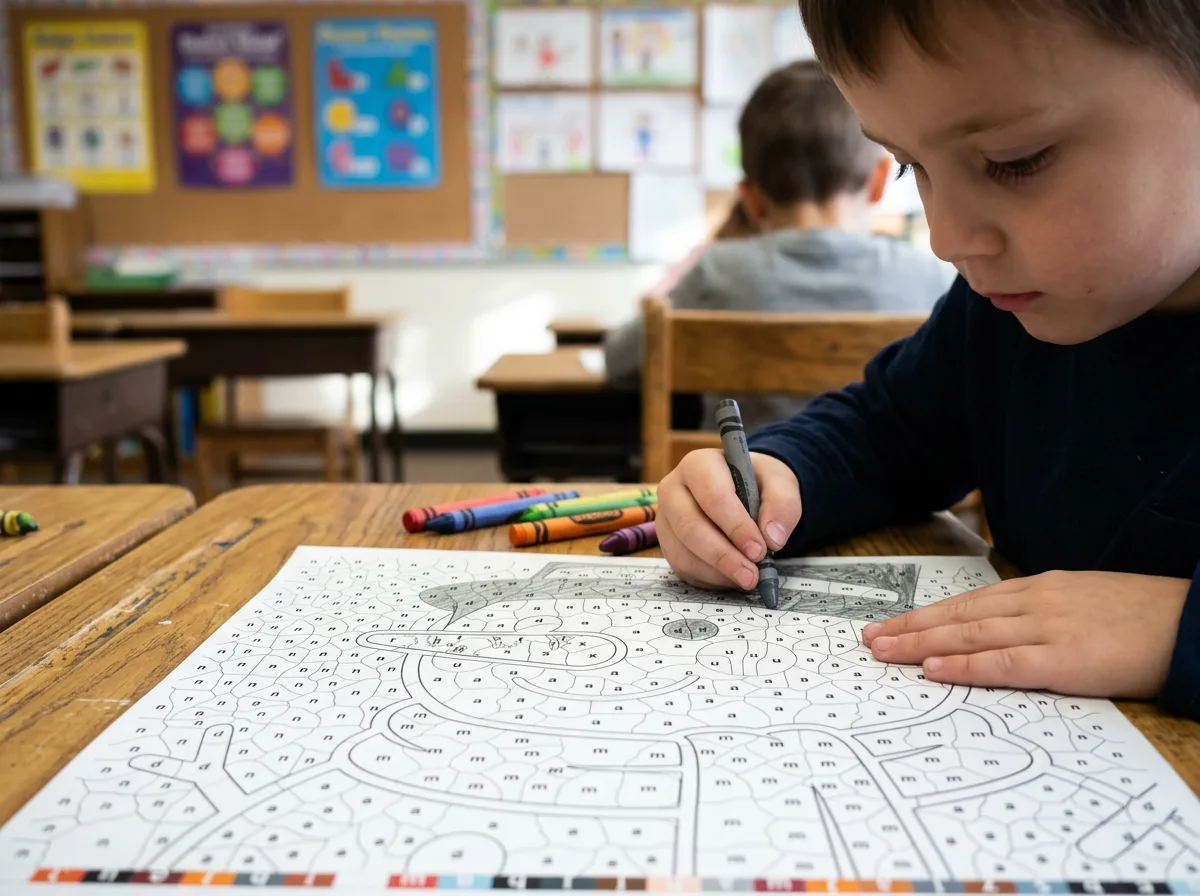
Some children need a task with an unambiguous next step. A numbered page provides exactly that: there is always one more region, and it is always clear what to do with it. For these children, simpler is better — few colours, big cells, a subject they like. The point is the structure, not the challenge.
10. The same page at three levels
The generator's real advantage for a classroom is differentiation without visible difference. Convert one photo three times — 8 colours with cell size 40, 12 colours with cell size 28, 20 colours with cell size 16 — and hand them out by need. Every child is colouring the same picture; nobody is doing the "easy one".
Settings that keep a class set printable
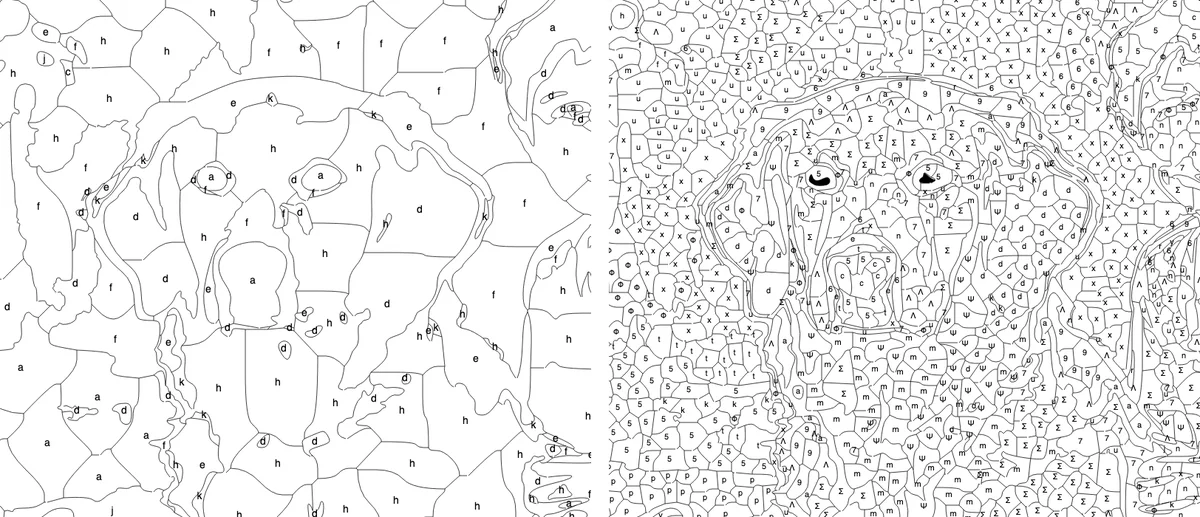
The failure mode for classroom pages is labels too small to read after printing. Three things prevent it:
- Fewer colours, bigger cells. Eight colours and cell size 40 is the floor for early years. Every region is then large enough to carry a label at a size a child can read.
- Raise Label size. Under More settings, pushing Label size from 3 to 4 or 5 makes every label larger without changing the regions.
- Print one, check, then print thirty. Download the SVG (it stays sharp at any size), print a single copy with "fit to page", and look at the smallest label. If you have to squint, the class will too.
More on paper, sizing and printers in printing at home, and a fuller breakdown of settings by age in pages for every age group.
Photos with children in them
The conversion runs entirely in the browser: the photo is not uploaded, stored, or seen by anyone. It is still worth following your school's usual photo policy, and a photo of the class pet, garden, or building avoids the question altogether while being just as recognisable to the children.