Most disappointing color-by-number pages are not the result of wrong settings. They are the result of a photo that was never going to work. The conversion has to decide where one colour ends and the next begins, and some photographs simply do not contain that information — no slider will invent it.
This guide goes subject by subject through what converts well, what fights back, and what to do about the difficult cases.
The one rule underneath everything
A good source photo has areas of flat-ish colour separated by real edges.
That is the whole thing. A red apple on a white cloth has two large flat areas and a hard edge between them, so it converts beautifully. A field of long grass has no flat areas and no edges — every blade is a slightly different green — so it converts into hundreds of unpaintable slivers or, if you smooth it, into a featureless green blob.
Before uploading, squint at the photo until it blurs. If you can still see distinct shapes, it will convert. If it dissolves into mush, it will not.
Portraits
Portraits are the most requested subject and the most demanding one.
What works: Even, soft light from one direction. Studio portraits, overcast-day photos, and shots near a large window all convert well. The face needs enough light variation to show its structure — a cheekbone, the shadow under the chin, the line of the jaw — because those tonal steps are what become paintable regions.
What fights back: Direct midday sun creates blown-out highlights and black shadows with nothing in between, so the face flattens into two shapes. Backlighting is worse: the subject becomes a silhouette with no interior detail at all.
Settings to reach for: Portraits usually want more colours than you would expect — 24 to 32. Skin is a gradient, and too few colours turn it into hard bands that look like a topographic map. If the face is banding, raise the colour count before touching anything else.
Crop tight. A portrait that fills the frame gives the face enough pixels to resolve eyes and lips properly. The same photo at full length wastes most of its resolution on a jumper.
Pets
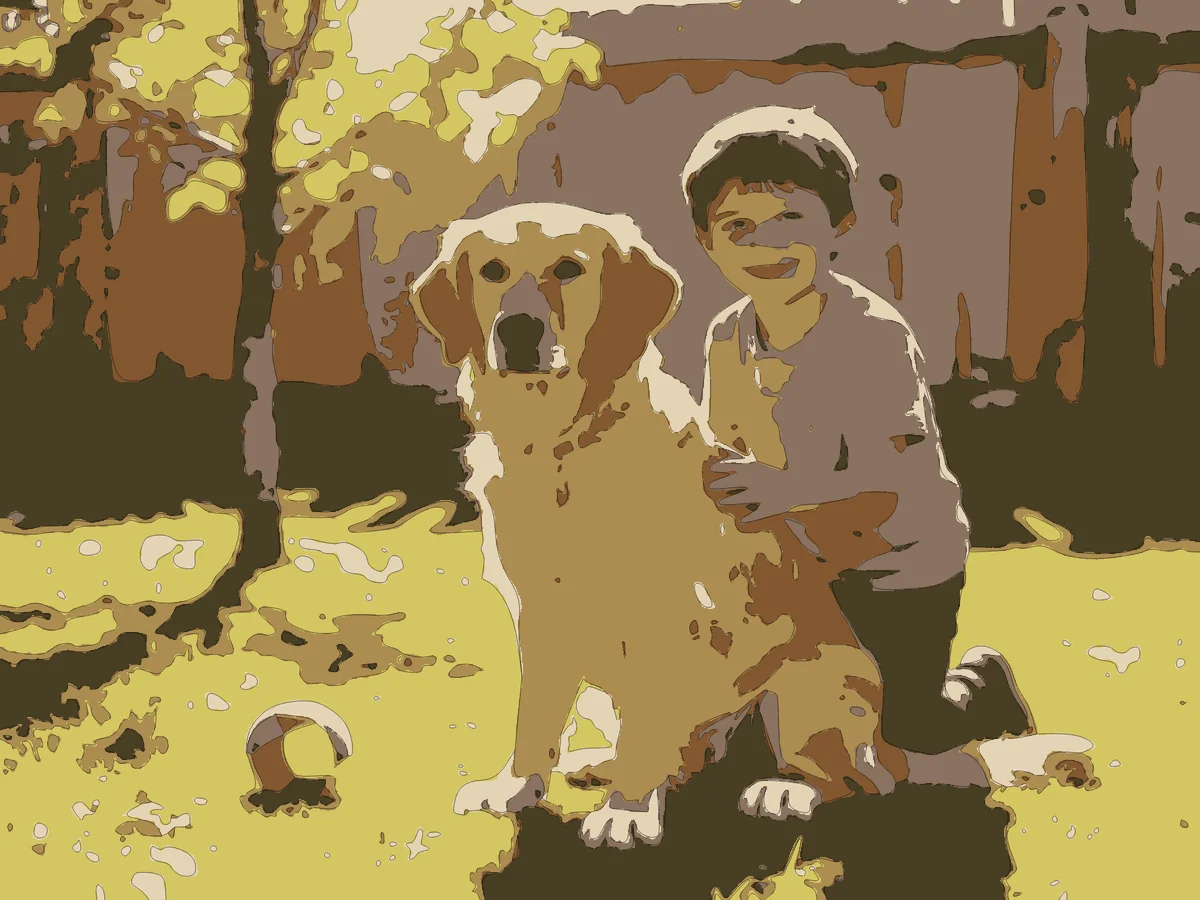
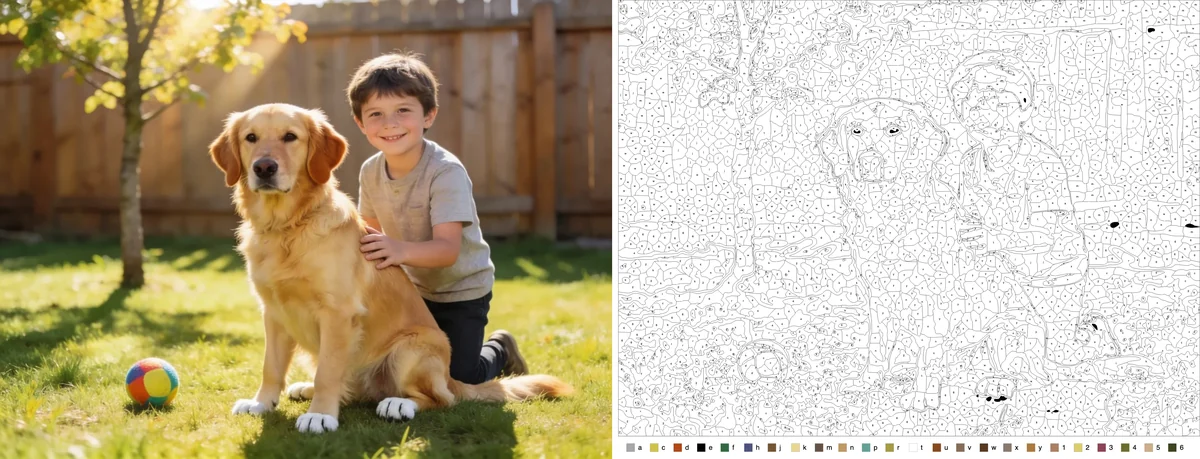
Pets are the most popular subject and the results depend almost entirely on coat length.
Short-coated animals convert brilliantly. A boxer, a labrador, a horse, a short-haired cat — the coat reads as a smooth surface with real shading, which is exactly what the tool wants.
Long or fluffy coats are hard. Fur is fine repeating texture, the same problem as grass. A long-haired cat produces either thousands of tiny regions or a smooth grey shape that loses the animal entirely.
If you are working with a fluffy pet, lean into simplification rather than fighting it: fewer colours, a larger cell size, and higher smoothing will give you a stylised, poster-like result that reads well even though it has lost the individual hairs. Trying to preserve the fur is the losing move.
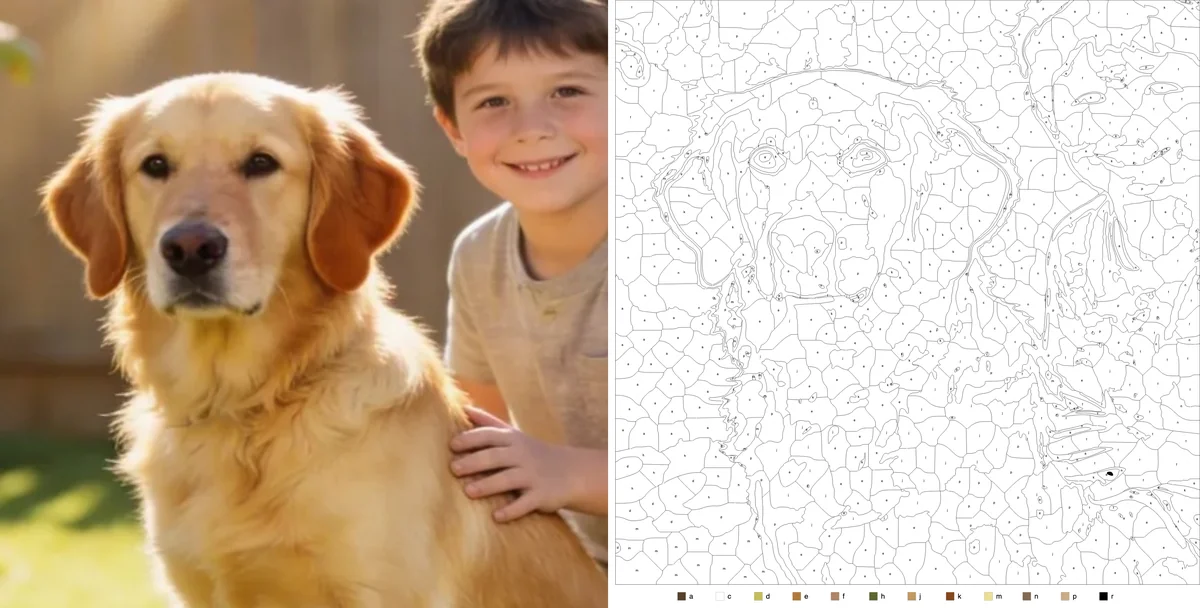
Get the eyes in focus. Eyes are what make an animal portrait recognisable, and they are small. If the eyes are soft, the whole page looks wrong regardless of everything else.
Landscapes
Landscapes split sharply into two groups.
Graphic landscapes convert well: a lone tree on a hill, a lighthouse against sky, mountains in layers, a beach with clear bands of sand, sea, and sky. These have large flat areas and strong horizontal structure.
Detailed landscapes do not: woodland, hedgerows, a garden in full bloom, anything with a lot of foliage. There is no flat area anywhere in the frame.
Landscapes also tend to have a large, subtly graduated sky. If the sky bands into visible stripes you have two options: raise the colour count so the steps get finer, or lower it so the sky becomes one deliberate flat area. The middle ground is the ugly one.
Flowers and single objects
This is the easiest category and a good place to start if you are new.
A single flower, a piece of fruit, a mug, a car, a musical instrument — a distinct object against a plain background converts almost automatically. The subject-to-background edge is unambiguous and the object itself usually has broad areas of one colour.
Close-up flower photography is particularly good: petals are large, smooth, and strongly coloured, and the shadows between them create natural region boundaries.
Buildings and architecture
Architecture converts well because it is made of flat planes meeting at hard edges — which is a description of what the tool is trying to produce anyway.
Watch for two things. Windows often go pure black, which is usually fine and sometimes striking. And fine architectural detail — railings, window frames, roof tiles — sits right at the threshold where regions become too small to paint. If detail is vanishing or shattering, adjust the cell size rather than the colour count.
Things that never work
Some photos cannot be rescued, and it saves time to recognise them early:
- Screenshots of compressed images. JPEG artefacts look like real edges to the tool, so it faithfully traces the compression noise.
- Heavy digital zoom. Phone zoom beyond the optical range invents detail that is not there, producing smeary regions.
- Night photography. Almost everything falls below the dark threshold and merges into one black mass.
- Anything below about 800 pixels on its longest side. Upscaling first does not help — the detail is not recoverable, only invented.
A two-minute preparation routine
Before uploading, spend two minutes doing this:
- Crop to the subject. Remove everything that is not the point of the picture. This is the single highest-impact edit.
- Straighten the horizon if there is one.
- Lift the shadows slightly if the darks are crushed. You are trying to reveal structure the tool can find.
- Do not sharpen. The tool has its own sharpening step that works on the image at processing resolution — pre-sharpening usually just adds noise for it to trace.
Then upload, and if the first result is not right, change one setting and re-process. Changing three at once tells you nothing about which one mattered.
Try it on something easy first
If you are still getting a feel for it, pick a photo of a single object on a plain surface — a piece of fruit on a table, a flower against the sky. Run it at the defaults through ColorByNumber.art, then run the same photo again at half the colour count. Comparing two versions of an image you already understand teaches you more than a dozen attempts at a difficult one.