Most of the disappointment in a home-printed color-by-number sheet happens between the download button and the paper tray. The generated page is fine; the print settings are what turned the borders grey and the numbers into smudges.
This is what to do about it.
Download the SVG, not the PNG
Both downloads contain the same page. They are not equally good at printing.
The SVG is a vector file — the borders are stored as mathematical curves, so they are re-drawn at whatever resolution your printer works at. A hairline border stays a crisp hairline whether the sheet comes out at postcard size or fills a poster.
The PNG is a grid of pixels. It is generated at a high resolution and prints perfectly well at its intended size, but it cannot be enlarged without softening, and thin borders are exactly the detail that goes first.
Since a color-by-number sheet is mostly thin borders and small text, this matters more here than it would for a photograph. Use the SVG for anything you are printing. Keep the PNG for sharing on screen or sending to someone who would rather not deal with a vector file.
Open the SVG in any browser and print from there — it needs no special software.
Paper: match it to what you are about to do
Standard copier paper is about 80 gsm. It is fine for coloured pencil and just about survives felt tips. It cannot handle water.
| Medium | Minimum paper |
|---|---|
| Coloured pencil | 80 gsm (standard) is fine |
| Felt tip / marker | 120 gsm, or put a spare sheet underneath |
| Gouache / acrylic | 200 gsm |
| Watercolour | 190 gsm minimum, watercolour paper ideally |
The failure mode with light paper and wet media is cockling — the sheet absorbs water, expands unevenly, and dries wavy. It is permanent, and it is the single most common way a good painting ends up looking amateurish.
Check your printer before buying heavy paper. Many home inkjets take up to around 200 gsm through a rear or manual feed but will jam if you send it through the standard cassette. The specification sheet will list a maximum media weight.
Ink matters more than people expect
If you are using anything wet, your printer's ink chemistry decides whether the borders survive.
- Dye-based inkjet ink dissolves in water. Your first wash will drag the border lines into the paint.
- Pigment-based inkjet ink is water-resistant once dry.
- Laser toner is fused plastic and completely unaffected.
If you do not know which you have, test it: print a small area, let it dry fully, and touch it with a wet brush. Thirty seconds now saves a project later.
For dye-based printers used with watercolour, letting the print cure for a full 24 hours before painting helps noticeably.
Print settings
Scaling. Choose "Fit to page" or "Fit to printable area". Do not use "Actual size" — the sheet's proportions come from your photo, not from A4, so actual size will crop it.
Quality. Use the normal or high setting, not draft. Draft mode thins lines and is the usual reason borders come out broken or grey.
Colour. Print in colour, not greyscale. The colour key along the bottom of the sheet is the only reference for which paint goes with which number — in greyscale it becomes a row of indistinguishable grey squares.
Margins. The generated sheet includes its own border frame, so you do not need borderless printing. Standard margins are fine and avoid the edge-feeding problems borderless mode can cause.
Sizing: the smallest region decides
The mistake people make is choosing a print size and hoping the detail survives. It is the other way round — the smallest region you need to paint sets the minimum size the sheet can be printed at.
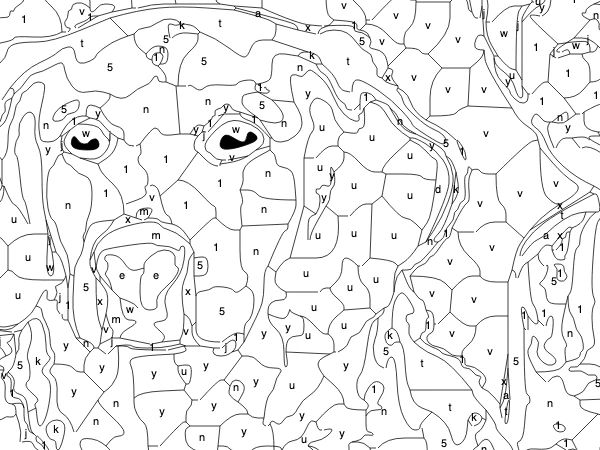
A practical floor is about 4 mm across for the smallest region you actually want to fill. Below that, a brush cannot reach it and a pencil cannot stay inside it.
So: look at the preview, find the smallest region that matters, and estimate. If you are printing A4 and those regions would land under 4 mm, you have two options — print larger, or go back and raise Cell size and Min region in the generator so the small regions are absorbed before you print.
For children, be considerably more generous. Regions under about 10 mm are frustrating for small hands, which usually means fewer colours and a cell size up around 40.
Printing larger than A4
For anything bigger than your printer handles, take the SVG to a print shop. Because it is vector, it enlarges to A2, A1 or beyond with no loss at all — this is exactly what the format is for.
Ask for a heavier stock than you would use at home. Large sheets flex, and a big sheet on thin paper is awkward to work on before you have even started painting.
If you plan to frame it
Two things to decide before printing rather than after.
Aspect ratio. Standard frames come in fixed proportions and your photo probably does not match one. Crop the photo to the frame's ratio before uploading — cropping the finished painting means cutting through regions you painted.
Margins. Leave a border of at least 20 mm of unpainted paper around the image if the frame has a mount, or the mount will overlap your work.
A checklist before you print a set
Print one test page first. Every time. On it, check:
- Are the numbers readable? If not, raise Label size and regenerate.
- Did the borders come through solid, or grey and broken? If broken, check your quality setting.
- Is the colour key legible, with distinguishable colours?
- Can you comfortably fill the smallest region with what you plan to paint with?
- Does the paper survive a test stroke of your medium?
Five minutes and one sheet of paper. It is the difference between a set of twenty pages you can use and twenty pages you print again.
Generate and download your sheet at ColorByNumber.art — the SVG button is the one marked for printing.