The three that matter most
These are the settings shown as soon as you open the panel.
Colors
Range 2–47. Default 24.
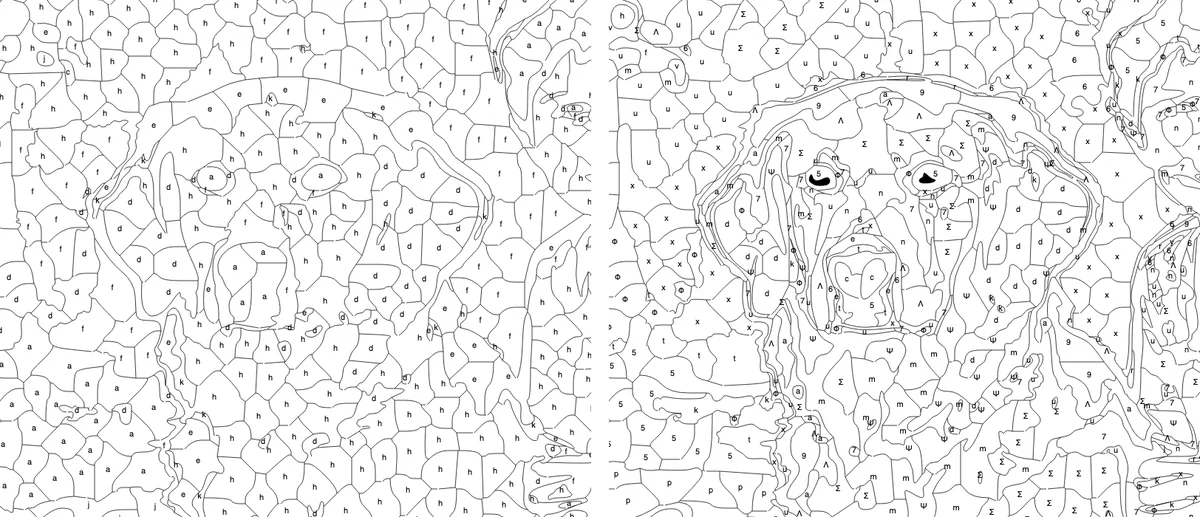
How many colours the palette contains. This is the setting you will reach for most.
The tool does not simply pick the most common colours — it chooses a set that covers the image as evenly as possible, comparing colours the way the eye does rather than by raw numeric difference. That matters because it stops a dark navy and a dark purple from collapsing into one entry just because their numbers are close.
- 2–8: Bold and graphic. Good for young children and poster-style results.
- 12–20: The comfortable middle. Recognisable subjects without overwhelming detail.
- 24–32: Detailed work. Necessary for portraits, where skin needs enough steps to avoid banding.
- 33–47: Diminishing returns for most photos, and a legend so crowded it becomes hard to read.
The ceiling is 47 because every colour gets a distinct single-character label, and that is how many distinct characters are available.
Cell size
Range 0–80. Default 20.
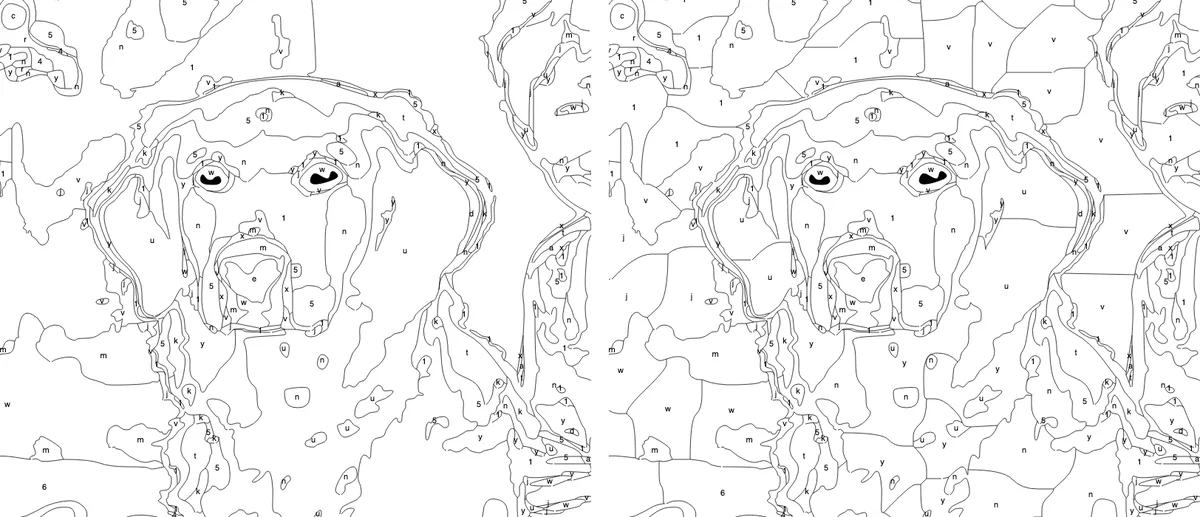
This is the least obvious setting and often the most useful.
Left to itself, the tool produces regions that follow the natural colour boundaries in the photo — which means a clear sky can become one enormous region covering half the sheet. Cell size breaks large areas into smaller pieces, so you get a mosaic of manageable shapes instead of one vast expanse.
- 0: Off. Regions follow natural colour boundaries only. Best for graphic, poster-like results.
- 10–16: Fine mosaic. More regions, more painting time, more detail retained.
- 20–30: Balanced.
- 40–80: Large, forgiving shapes. This is what you want for young children.
Cells never cross a colour boundary, so raising this never smears one colour into another — it only subdivides.
Sharpness
Range 0–10. Default 0 (off).
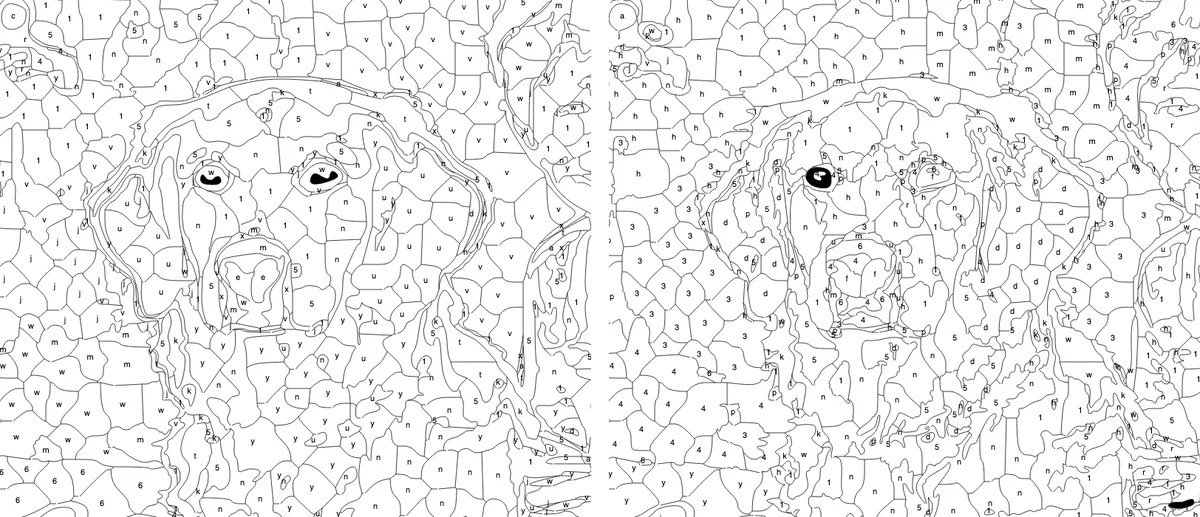
Applies an unsharp mask before the colours are grouped, strengthening edges so the region detector has something firmer to work with.
Leave it at 0 for good photos. Raise it to 2–4 for images that are soft, slightly out of focus, or heavily compressed. Above about 5 it starts amplifying noise into false edges, which produces speckle.
The rest, and when to touch them
Everything below lives under More settings.
Color diversity
Range 1–10. Default 6.
Controls how hard the tool works to spread the palette across the whole image rather than concentrating it where the pixels are.
At 1 the palette follows raw pixel frequency, so a portrait with a large background can spend most of its colours on that background and leave the face with three. Higher values push the palette to cover distinct colours even when they occupy a small area. Raise it if something small and important — eyes, a flower, a logo — is losing its colour.
Blur / noise
Range 0–8. Default 1.
Softens the image before the colours are grouped. This exists to stop sensor grain being mistaken for detail.
Raise it to 2–4 for grainy photos, phone shots taken indoors, or anything where flat areas are breaking into speckle. Lower it to 0 for clean, high-resolution images where you want maximum detail. It is the opposite lever from Sharpness, and it is worth understanding that you rarely want both.
Smoothing
Range 0–10. Default 3.
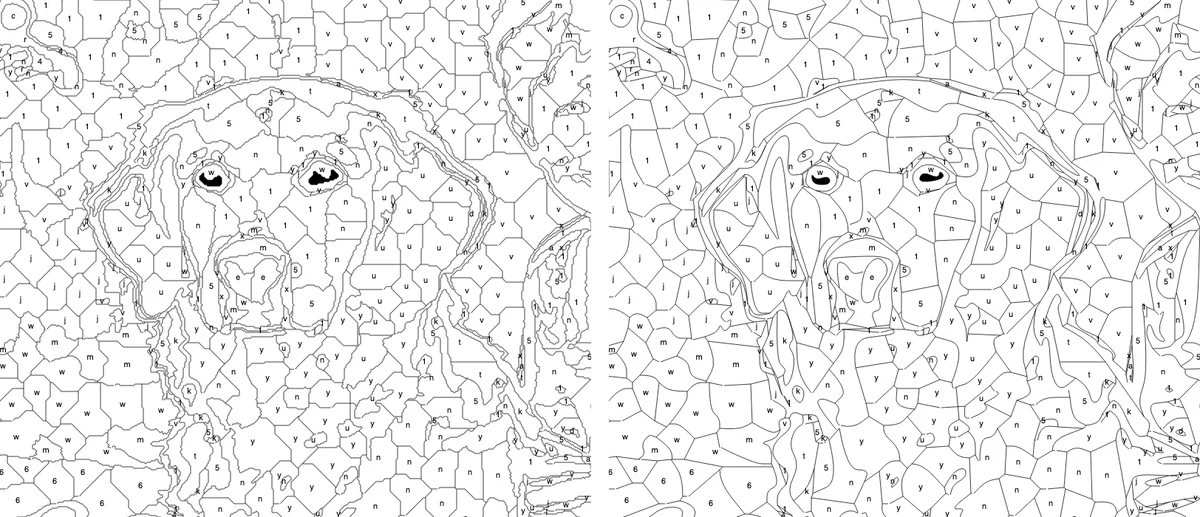
How aggressively the borders are simplified into flowing curves.
Low values follow the pixel boundaries closely, which can look jagged. High values produce sweeping, rounded shapes at the cost of small features. If your outlines look like a staircase, raise it. If shapes are losing their character, lower it.
Min region
Range 0–500. Default 20.
Any region smaller than this is absorbed into its neighbour. This is your primary weapon against confetti.
If the sheet is covered in tiny unpaintable specks, raise this to 50 or 100. It is more targeted than lowering the colour count, because it removes the specks without flattening the areas that were working.
Label size
Range 0.3–6. Default 3.
Multiplies the size of the numbers or letters. All labels are sized uniformly — the tool finds the size that fits the smallest labelled region and applies it everywhere, so the numbers never end up at different sizes on one sheet.
If the labels are too small to read after printing, raise this. If they are colliding with borders, either lower it or raise Min region so the tiny regions stop dictating the size.
Export scale
Range 2–8. Default 4.
The resolution multiplier for the PNG download. Higher means a larger file and a sharper print.
Note that the PNG steps this down automatically if your browser refuses to allocate a canvas that large — phones in particular have a hard ceiling. If that happens the page tells you, and the SVG is unaffected.
Border width, Border color, Label color
Cosmetic controls for the printed sheet. Thin black borders at the default 0.75px match how commercially printed books look. Lighter borders in a warm grey are less obtrusive under paint but harder to see while painting.
These affect the Outline and export views only. The tinted Color-by-Number preview always uses black, because it needs to stay readable on a coloured background.
Auto-black size
Range 0–2000. Default 200.
Small regions that are genuinely black — pupils, nostrils, deep shadow — get filled in solid rather than being given a number, because nobody wants to look up a number to paint something black.
This is the size threshold. Raise it if larger black areas should also be filled automatically; set it to 0 to switch the behaviour off and label everything.
Label order
Chooses whether regions are labelled with numbers, letters, or symbols first. Purely a preference — although letters can be easier for young children who are still learning digits, and symbols avoid the problem of a "6" that has been rotated into a "9".
Fixing the four common problems
The sheet is covered in tiny specks. Raise Min region first. If that is not enough, raise Blur / noise, then lower the colour count.
Skin or sky has hard bands. Raise the colour count. If that does not fix it, raise Color diversity so the palette stops spending itself elsewhere.
Numbers are unreadable when printed. Raise Label size. If they now overlap borders, raise Min region — tiny regions are what force the labels small.
Important detail has vanished. Lower Smoothing, lower Min region, and raise Color diversity. Detail loss is usually one of those three, and usually the last one.
A practical workflow
- Upload and look at the default result.
- Fix the biggest problem with one setting.
- Re-process and compare.
- Repeat until it is close.
- Only then edit the palette by hand.
Palette editing is last because changing the colour count discards your hand-picked colours — the count drives a fresh palette. Get the structure right first, then adjust individual colours.
Everything runs on your own device, so re-processing costs nothing but a few seconds. Try more variations than you think you need — the difference between a decent sheet and a good one is usually three or four rounds at ColorByNumber.art.