The most common mistake when making a page for a child is generating it the way you would want it yourself. A sheet with two hundred regions is absorbing for an adult and demoralising for a six-year-old.
The generator makes it easy to produce several versions of one photo, so a family can work on the same picture at different levels. Here is what to aim for at each stage.
Ages 3–5
At this age the activity is not really about the picture. It is about holding a pencil, staying roughly inside a line, and matching one symbol to another. The image is the motivation, not the goal.
Aim for 8–15 regions on the whole page. That is far fewer than feels right, and it is correct.
Settings:
- Colors: 4–6
- Cell size: 60–80
- Min region: 150–300
- Label size: 5–6
Subjects: a single large object with an obvious silhouette. A balloon, a flower, an apple, the family cat's face filling the frame. Nothing with a background worth speaking of.
Use letter labels rather than numbers if the child is learning their alphabet, or symbols if they are not yet confident with either. Matching a star to a star is a genuine achievement at four, and it is the same activity cognitively.
Expect the picture to be barely recognisable as a photograph. That is fine — nobody at this age is evaluating fidelity.
Ages 6–8
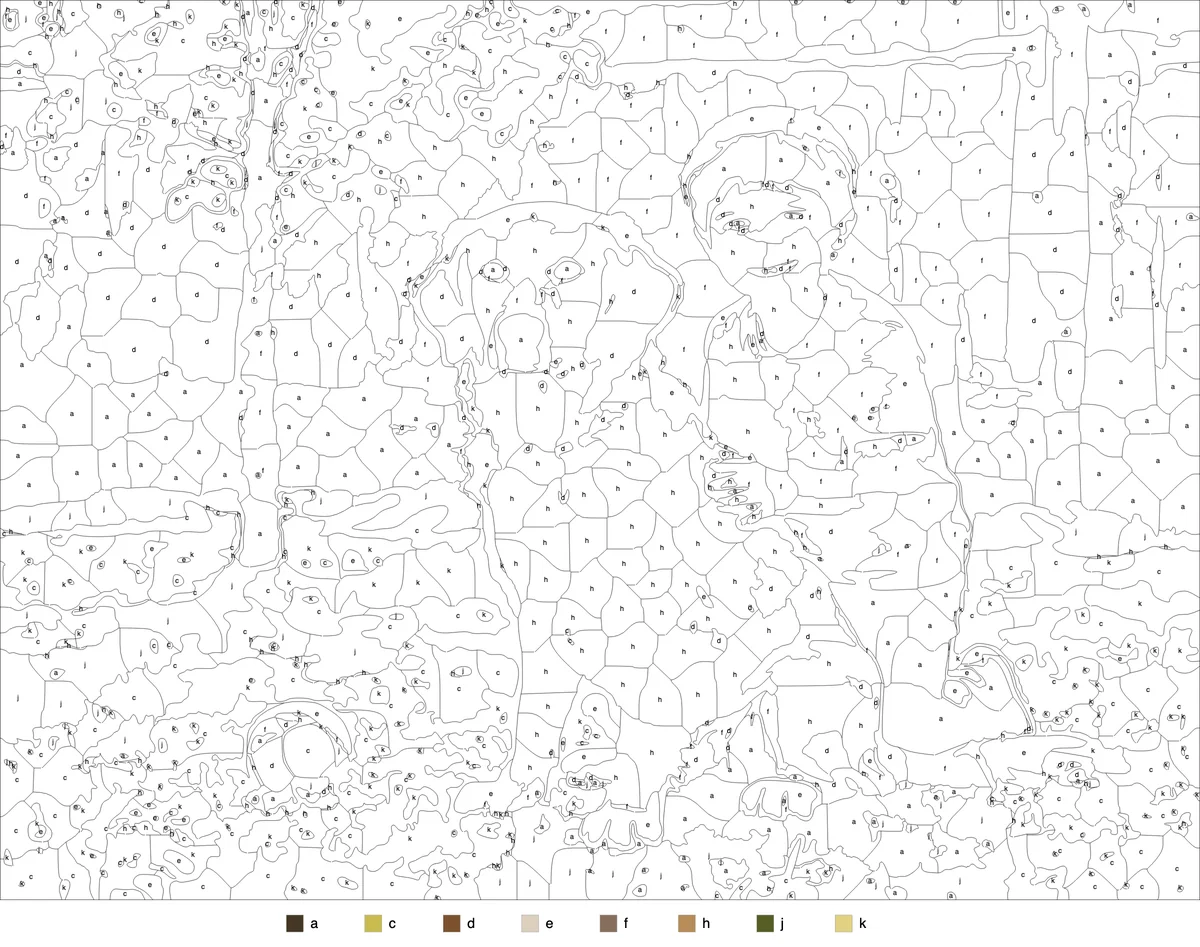
Numbers are now reliable, hands are steadier, and children can sustain concentration for perhaps twenty minutes. This is the sweet spot for classic color-by-number.
Aim for 30–60 regions.
Settings:
- Colors: 8–12
- Cell size: 40–50
- Min region: 80–120
- Label size: 4
Subjects: animals, vehicles, a familiar face, a simple scene with a clear subject. The picture should be recognisable before it is coloured — half the pleasure at this age is knowing what you are making.
This is also the age where personalisation starts to matter enormously. A page made from a photograph of the child's own dog holds attention far longer than a generic one. That is the whole argument for generating your own rather than buying a book.
Ages 9–12
Fine motor control is close to adult, patience has extended, and children this age often want the result to look good rather than merely finished.
Aim for 80–150 regions.
Settings:
- Colors: 14–20
- Cell size: 20–30
- Min region: 30–50
- Label size: 3
Subjects: almost anything. Landscapes, portraits, detailed animals, favourite characters. This is a good age to introduce photos with real shading, because they can see the result of following it faithfully.
Two things work well here. First, let them choose the photo — ownership matters more than the subject. Second, introduce the palette editor: showing a child that they can change colour 4 from grey to purple turns the activity from following instructions into making decisions.
Teenagers and adults
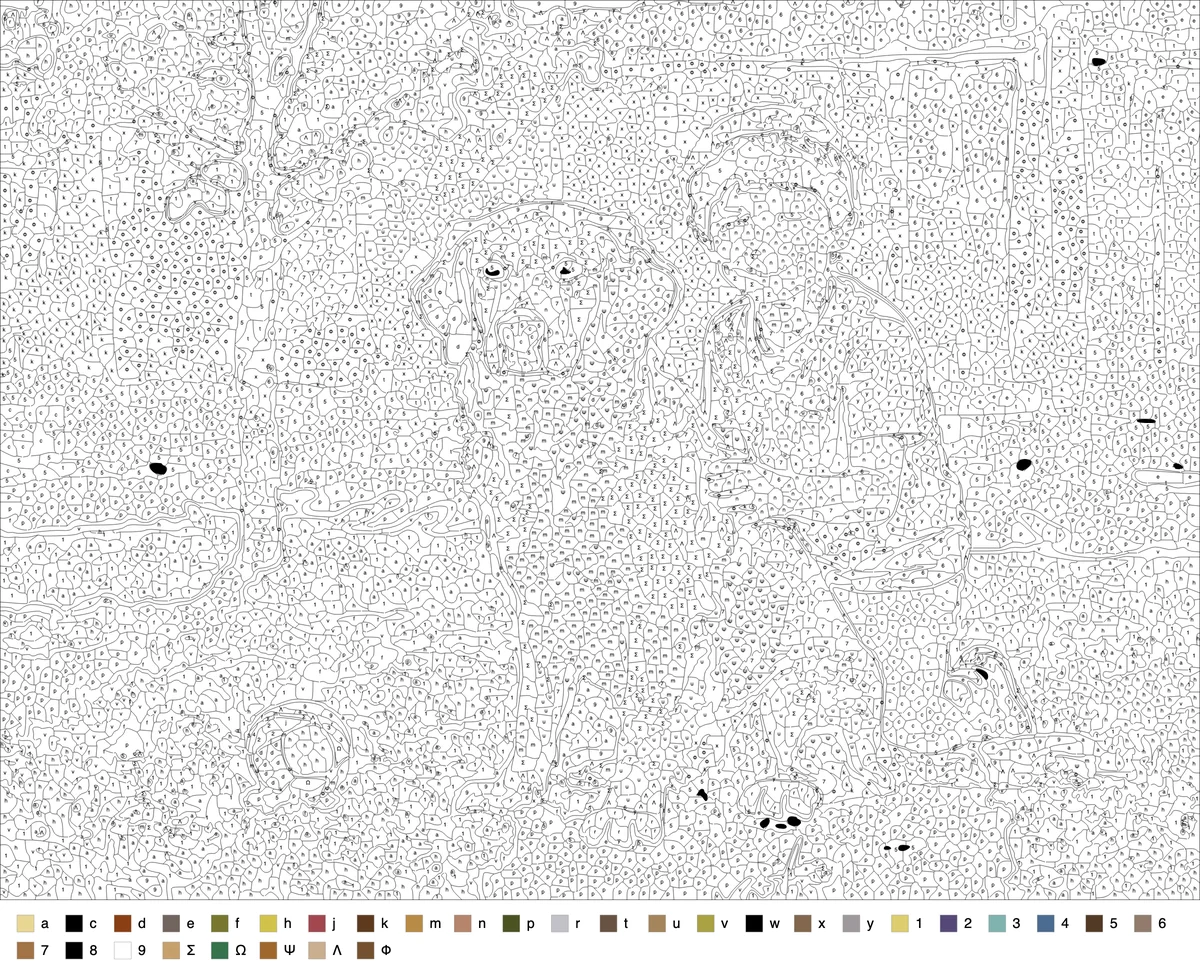
At this point the constraint is not skill but time. A detailed sheet is several hours of work and needs to be worth it.
Settings:
- Colors: 24–32
- Cell size: 12–20
- Min region: 20
- Label size: 2–3
Subjects: portraits, pets, landscapes with strong structure, architecture. Photographs with genuine emotional weight — a person, a place, a pet that is no longer around — are what make a long project sustainable.
The main advice for adults is the opposite of the advice for children: do not oversimplify. The temptation is to reduce the colour count so the sheet finishes faster, but a portrait at 12 colours bands badly and looks worse than one at 28. If the time commitment is the problem, print smaller rather than reducing the detail.
One photo, several versions
The most useful thing about generating your own pages is that a single photograph can serve a whole family.
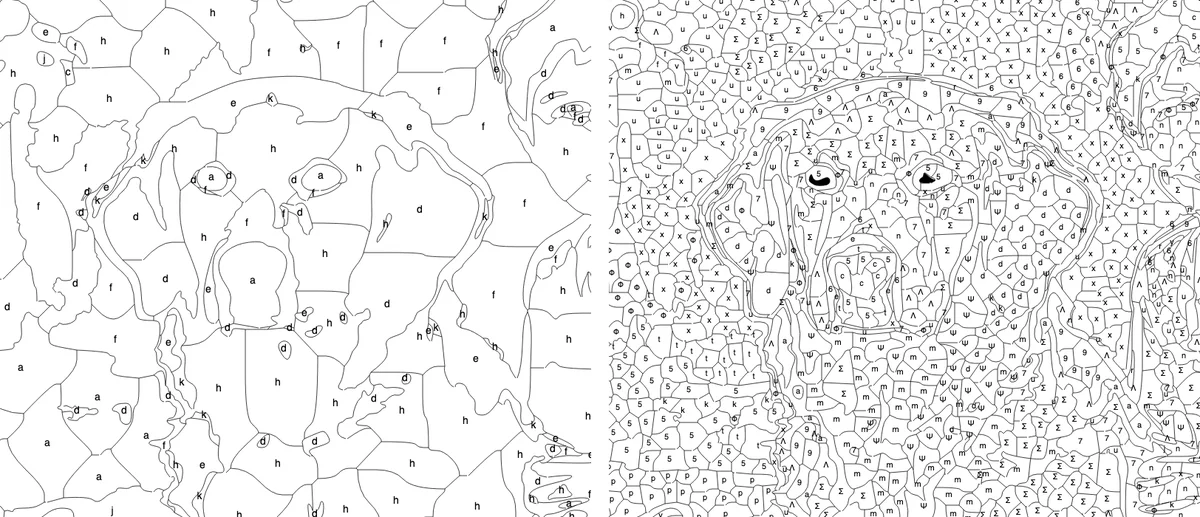
Take one photo — the family dog is the classic — and produce three sheets:
- Toddler version: 5 colours, cell size 70, min region 200
- Child version: 10 colours, cell size 45, min region 100
- Adult version: 28 colours, cell size 16, min region 20
Everyone works on the same picture at their own level, and the finished set makes a genuinely nice thing to put on a wall together. Each version takes about thirty seconds to generate, because the photo is already loaded — change the settings and press Re-process.
A note on frustration
The single best predictor of whether a child finishes a page is whether the smallest region is big enough for the tool they are holding.
If a five-year-old is using a chunky wax crayon, a region needs to be around 15 mm across. If it is 5 mm, they will go outside the lines, notice, and lose interest. That is not a lack of patience — it is a badly specified task.
So before printing for a child, look at the preview and find the smallest region. If it looks tight, raise Min region until those regions are absorbed into their neighbours. It costs a little detail and saves the activity.
Getting started
Pick a photo of something the child in question actually cares about — their pet, their bike, a favourite toy — and generate two versions at ColorByNumber.art: one at the settings above for their age, and one a step simpler.
Print both. Which one they reach for tells you more about the right level than any table can, and you will have calibrated it for good after a single afternoon.